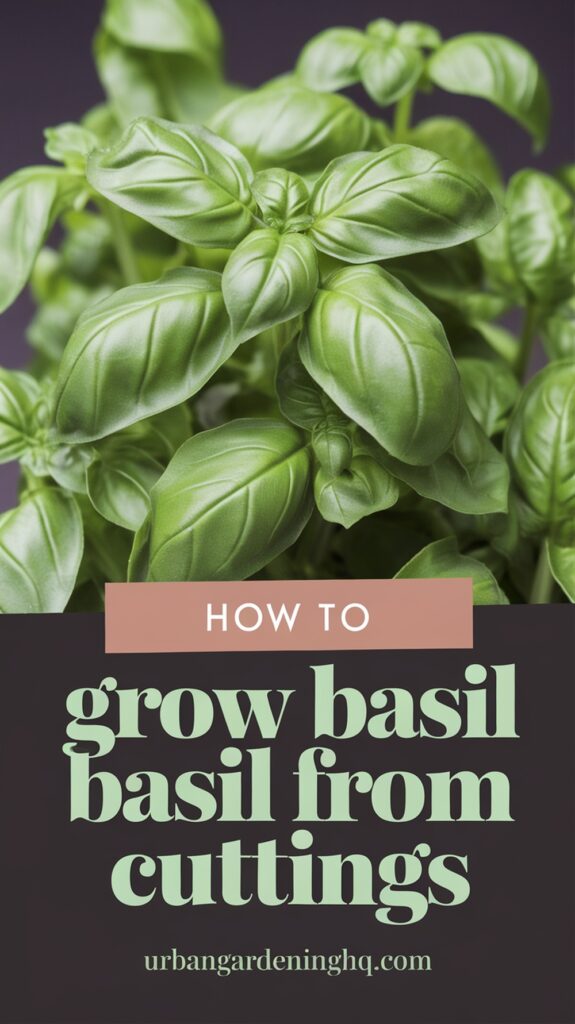
Basil has always been one of those herbs I can’t live without. Whether I’m whipping up a batch of pesto, adding fresh leaves to a caprese salad, or just enjoying the scent while brushing past it on the balcony, it brings such joy and flavor to my daily routine. Over the years, I’ve learned how incredibly easy it is to grow basil—not just from seeds but from cuttings. Once I discovered that a single sprig of basil could turn into an entire new plant, I was hooked.
If you’ve ever bought a fresh bunch of basil from the grocery store or harvested a little too much from your garden, don’t throw those stems away. I’ll show you exactly how I grow basil from cuttings, step-by-step, right from my urban container garden.
Choosing the Right Container for Rooting Basil
When I first started propagating basil, I was surprised at how low-maintenance the process was. For rooting, I usually start with a simple glass of water placed on my windowsill. Mason jars, small drinking glasses, or even old candle jars (cleaned out, of course) work perfectly. Basil likes warmth and light, so a sunny windowsill is ideal.
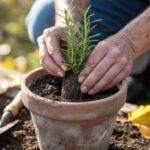
Once the roots have developed, I transplant the cuttings into small pots—about 4 to 6 inches in diameter. If I plan to grow the basil to full size, I eventually move them into larger containers, around 10–12 inches wide. I prefer plastic or ceramic pots that hold moisture a bit longer than terra cotta, since basil enjoys slightly moist soil.
Just like most herbs, basil hates soggy feet. Make sure your containers have drainage holes to prevent root rot.
Picking the Right Basil Variety
I usually propagate whatever basil I already have on hand, but if you’re starting fresh and want to buy a bunch or a plant specifically for cuttings, here are some great varieties that root well and grow beautifully:
- Genovese Basil – The classic variety used for Italian cooking and pesto. Fast-growing and reliable.
- Sweet Basil – Mild and versatile, great for everyday kitchen use.
- Thai Basil – Spicy with a hint of licorice flavor, perfect for Asian dishes.
- Lemon Basil – Bright and citrusy, ideal for teas and summer dishes.
- Purple Basil – Stunning color and slightly spicy flavor. Beautiful for garnishes and garden aesthetics.
All of these varieties can be propagated from cuttings, so feel free to experiment based on your cooking preferences and color palette.
Taking and Rooting Basil Cuttings
You can take basil cuttings any time during the growing season, but I’ve had the best success from late spring through summer when the plant is actively growing. Here’s exactly how I do it:
- Choose a healthy stem – I look for stems that are 4 to 6 inches long and haven’t yet flowered. Once basil flowers, its energy shifts away from growing leaves.
- Make a clean cut – I use a pair of sharp scissors or pruning shears to snip the stem just below a leaf node (where the leaves emerge from the stem).
- Remove the lower leaves – I gently pinch off the leaves on the bottom half of the stem. This keeps them from rotting in water and makes space for root growth.
- Place in water – I place the cutting in a clear glass of room-temperature water, making sure the bottom nodes are submerged. Then I place the glass in a bright spot out of direct, harsh sunlight.
- Change water regularly – Every two days or so, I change the water to keep it fresh and prevent bacteria from forming.
Within 5–7 days, you’ll likely see tiny roots starting to emerge. I usually wait until the roots are at least 1–2 inches long before potting the cutting in soil. This gives the plant a stronger chance of adjusting to its new home.
Transplanting and Caring for Basil Cuttings
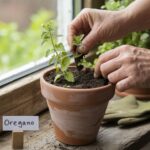
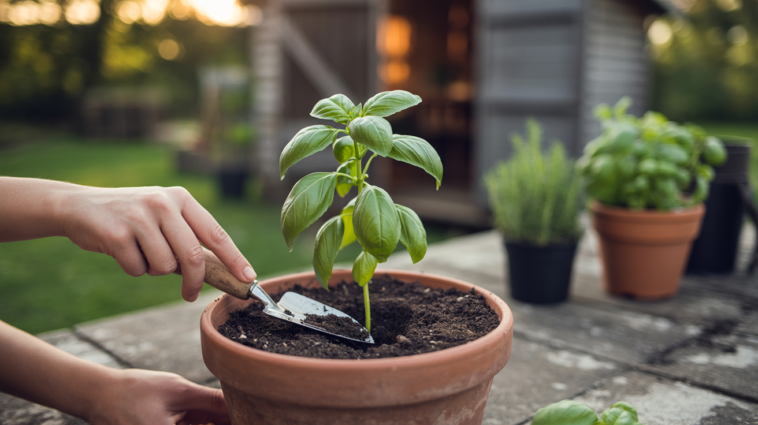
Once your basil cutting has strong roots, it’s time to move it into soil. I prepare a small pot with a loose, well-draining potting mix. I like to add some perlite or coconut coir to the mix for better aeration. Then I plant the rooted cutting, gently firming the soil around the base and watering it in well.
Light: Basil thrives in sunlight. I keep mine in a spot where it gets at least 6 hours of sun a day. If I’m growing indoors, I’ll supplement with a grow light, especially in the winter months.
Watering: Basil likes consistently moist (but not wet) soil. I check the top inch of soil with my finger—if it’s dry, I water. In the heat of summer, this often means watering once a day, especially if the plant is in a small pot.
Fertilizing: I feed my basil every 2–3 weeks with a diluted liquid organic fertilizer. Too much nitrogen can lead to big leaves with less flavor, so I stick to a balanced or slightly lower-nitrogen mix.
Pruning: Pruning is essential for a bushy, productive basil plant. I start pinching off the tops once the plant has a few sets of leaves. This encourages branching and prevents it from flowering too early. I always pinch just above a pair of leaves.
Common Issues and How I Handle Them
Basil is pretty fuss-free, but there are a few issues I’ve run into over the years:
- Wilting after transplanting: Sometimes basil sulks after being moved to soil. I keep it out of direct sun for a day or two and keep the soil evenly moist until it perks up.
- Leggy growth: This usually means not enough light or too much nitrogen. I prune it back hard and make sure it’s getting enough sun.
- Pests: Aphids and spider mites occasionally show up. A quick spray with soapy water or neem oil usually does the trick.
- Downy mildew: This disease shows up as yellowing leaves with dark patches underneath. I remove affected leaves, avoid overhead watering, and improve airflow.
Harvesting My Homegrown Basil
There’s something magical about harvesting your own basil. I typically wait until the plant is about 6–8 inches tall before I start harvesting. I always pinch just above a leaf node to encourage more growth, and I never take more than one-third of the plant at once.
Once you get going, basil grows fast—especially in warm weather. I often have enough to freeze, dry, or make pesto in big batches. To freeze basil, I chop the leaves and store them in ice cube trays with olive oil. For drying, I hang small bunches upside down in a warm, dark place until crumbly.
Final Thoughts
Growing basil from cuttings is one of the easiest and most rewarding ways to expand your herb garden. It saves money, reduces waste, and gives you a near-endless supply of fresh, fragrant leaves. I’ve turned leftover grocery store basil into an entire row of potted plants on my balcony—and there’s no reason you can’t do the same.
If you’ve never tried propagating basil before, I encourage you to give it a shot. All you need is a little patience, a sunny spot, and a fresh sprig or two. Before you know it, you’ll be snipping fresh basil straight from your windowsill for every meal.