Sweet marjoram is a fragrant herb from the Mediterranean. It grows well in containers, perfect for small spaces. This low-growing plant brings color and flavor to kitchens and balconies.
Marjoram care is simple. It needs full sun and well-drained soil to grow well. Whether you’re new or experienced, growing marjoram in pots is rewarding. It lets you enjoy fresh herbs all year.
I’ve found growing marjoram in containers easy, even indoors. Start seeds indoors in late winter. Then, move them outside after the last frost.
No fertilizer is needed. Just light, airy soil and regular watering. Move pots indoors during cold spells to protect plants. Follow these tips for a steady supply of leaves for cooking or drying.
Container marjoram varieties like variegated types are easy to care for. They’re drought-tolerant and bushy, great for sunny spots. This guide shares tips for planting, pruning, and harvesting to keep your marjoram thriving.
Understanding Marjoram: A Versatile Mediterranean Herb
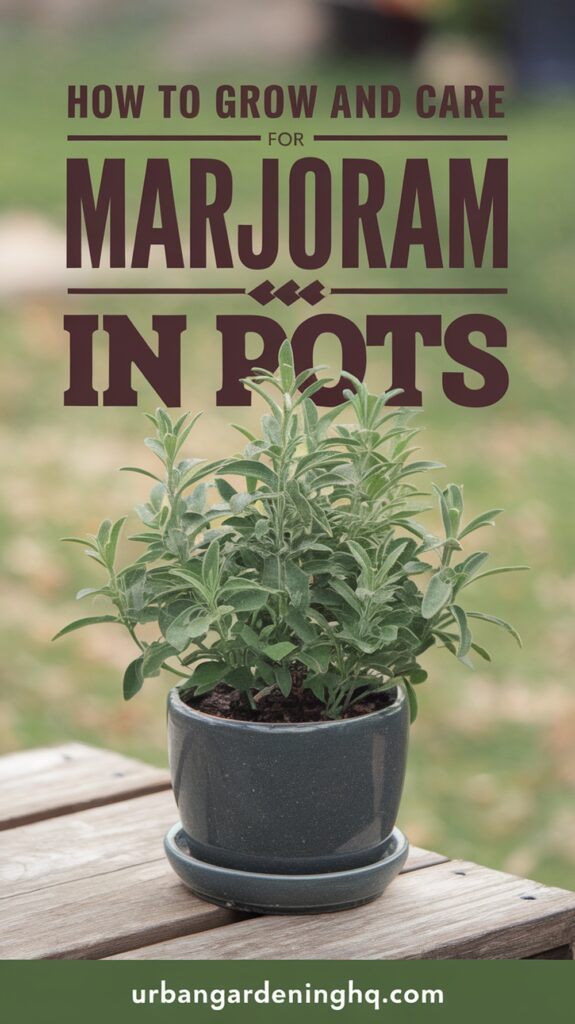
Marjoram has a sweet, subtle flavor that many love. It’s often confused with oregano, but its leaves are milder. This makes it perfect for growing in containers.
Different Varieties of Marjoram for Container Growing
- Sweet marjoram (Origanum majorana): Thrives in pots with its compact 12–24” height and fragrant leaves.
- Pot marjoram (Origanum onites): Slightly stronger flavor, suited for USDA zones 9–10 but easily moved indoors during winter.
Benefits of Growing Marjoram in Pots vs. Garden Beds
Containers offer control over sunlight, soil, and temperature. Growing Marjoram indoors protects it from frost. This way, you can enjoy fresh herbs all year.
Pots also prevent root rot by ensuring proper drainage. This is essential for marjoram’s well-draining needs.
Basic Characteristics and Growth Habits
Marjoram loves full sun (6+ hours daily) and well-draining soil. It grows 8–24” tall, with tiny pink or white blooms that attract pollinators. For Marjoram care tips, pinch stems to encourage bushiness and avoid overwatering to prevent root issues. Hardy in zones 9–10, but thrive as annuals elsewhere when potted.
Selecting the Right Containers for Your Marjoram Plants
Choosing the right container is key for thriving marjoram plants in your Container gardening Marjoram setup. Start with pots 4–6 inches wide for seedlings and 8–12 inches for mature plants. A depth of 6–12 inches ensures roots have space to grow without overcrowding.
Pot material matters:
- Terracotta: Breathable clay pots dry evenly but may need frequent watering in hot climates.
- Plastic: Lightweight and durable, these retain moisture longer but require vigilance to avoid overwatering.
- Avoid ceramic or metal: Excessively retains water or heats up, risking root rot.
Drainage is non-negotiable. Drill or choose pots with 3–5 holes (¼ inch each) to prevent waterlogging. Add a 1–2 inch layer of gravel or perlite at the bottom of the pot to improve airflow and drainage. When roots poke through drainage holes, it’s time to repot into a container 2–4 inches wider.
Get creative with your setups! Try these Marjoram potting guide ideas:
- Tiered planters for small spaces
- Hanging baskets for trailing varieties
- Windowsill containers paired with thyme or sage
Mix marjoram with lavender or rosemary in large pots—just ensure all herbs share similar soil needs.
Soil and Potting Mix Requirements for Successful Marjoram Growth
Starting a healthy potting marjoram plant requires the right soil blend. I’ve tested many mixes and found that good drainage is essential. Marjoram roots can’t handle soggy soil, so choose a mix that drains well.
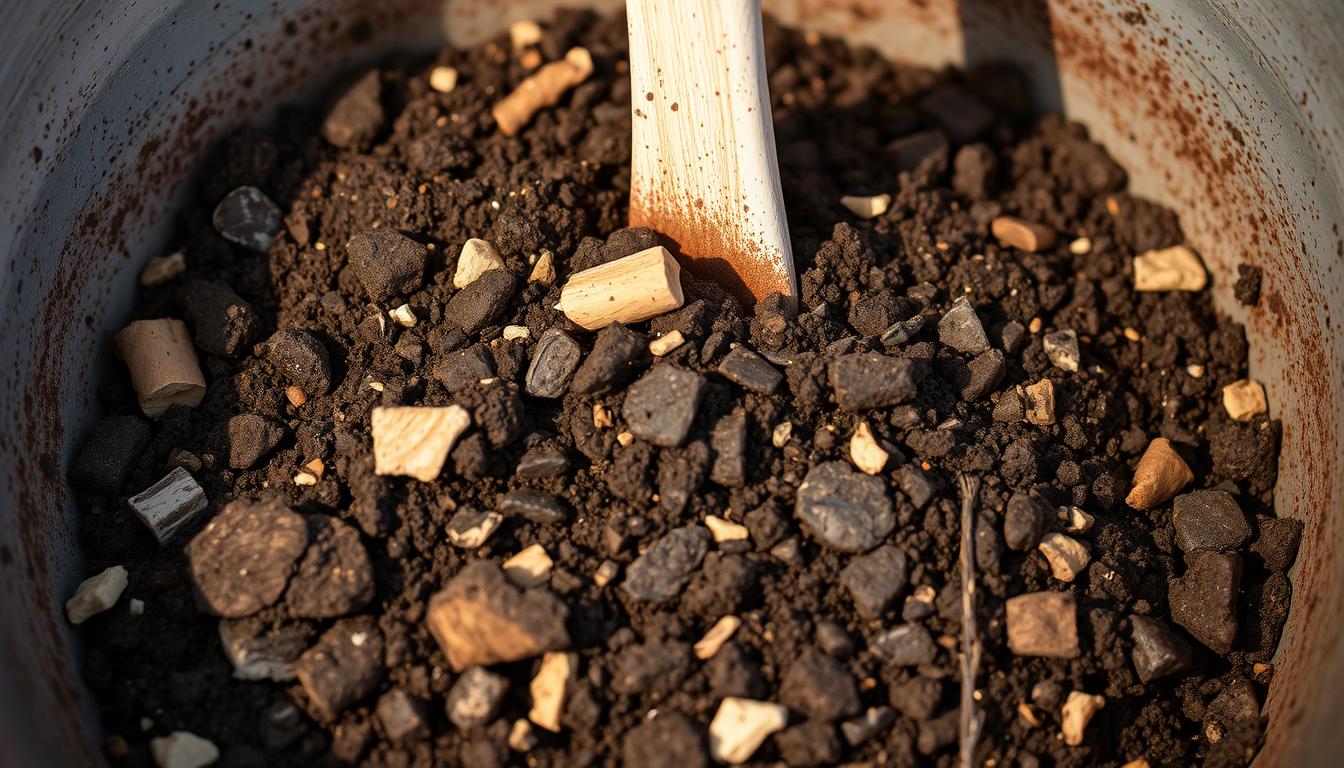
My favorite mix is three parts peat-free potting soil and one part coarse sand or perlite. Add a handful of compost for nutrients. But, avoid heavy fertilizers as marjoram prefers lean soil.
For plants that love alkaline soil, like marjoram, add a teaspoon of garden lime. This adjusts the pH to 6.7-7.0. Always use pots with drainage holes to prevent waterlogged soil.
- Base: 3 parts quality potting mix (try Yates Premium Potting Mix)
- Drainage boost: 1 part coarse sand or perlite
- Potency: 10% compost for slow-release nutrients
- pH balance: Add garden lime if soil tests acidic
Repot your marjoram every 2 years in spring to refresh the soil. Over time, compacted soil can harm the roots. Refreshing the mix keeps your plant bushy and flavorful. Never use garden soil in containers—it holds too much moisture.
How to Grow and Care for Marjoram in Pots: Step-by-Step Guide
Learning Tips for growing Marjoram in containers starts with picking how to begin. We’ll go through each step for success. For soil, Urban Gardening HQ suggests mixes with perlite and compost to avoid waterlogging. Here’s how to start:
Starting Marjoram from Seeds
- Sow seeds indoors 6–8 weeks before your region’s last frost (mid-February in Florida).
- Use a seed tray with Yates Seed Raising Mix and keep soil moist but not soggy.
- Germination takes 7–14 days at 60–70°F. Transplant seedlings into 8cm pots once they have 3 true leaves.
Propagating Marjoram from Cuttings
Choose 3–4 inch stem tips, strip lower leaves, and root in water or a 50/50 perlite/compost mix. Keep cuttings in bright indirect light until roots form. This method produces harvest-ready plants in 4–6 weeks.
Transplanting Nursery-Bought Plants
- Select a pot ≥12″ diameter with drainage holes (terracotta/ceramic preferred).
- Plant in a mix of 2 parts potting soil, 1 part sand/perlite, and 1 part compost.
- Water thoroughly after planting and place in full sun. Harden off plants gradually if moving outdoors.
| Method | Time to Harvest | Difficulty | Best For |
|---|---|---|---|
| Seeds | 10–12 weeks | Intermediate | Cost-effective batches |
| Cuttings | 6–8 weeks | Beginner-friendly | Cloning favorite varieties |
| Store-Bought | 2–3 weeks | Easy | Quick harvests |
Regardless of your method, aim to prune stems just above leaf nodes to encourage bushiness. Water only when the top inch of soil dries out—this prevents root rot common in poorly drained pots. Happy growing!
Watering and Fertilizing Your Potted Marjoram Plants
Indoor Marjoram plant care is all about keeping the right balance of moisture and nutrients. Potted plants dry out faster than those in the garden. So, you need to adjust your care routine based on your setup.
Healthy growth comes from consistent but careful watering. Here’s how to care for your plants without any guesswork:
Establishing the Perfect Watering Schedule
Check the soil moisture weekly by sticking your finger in it. Water only when the top inch feels dry. Outdoor pots in summer might need watering every 2–3 days. Indoor plants near heat sources might need daily checks.
Use pots with drainage holes and Miracle-Gro® All Purpose Container Mix. This helps prevent waterlogging.
Fertilizing Techniques for Optimal Flavor Development
Marjoram loves lean soil but a little light feeding can boost flavor. Try these methods:
| Feed Type | Application | Frequency |
|---|---|---|
| Compost Tea | Foliar spray or soil soak | Every 2–3 weeks |
| Liquid Seaweed Extract | Mixed with water | Every 4 weeks |
| Miracle-Gro® Plant Nutrition | Half-strength diluted solution | Every 6–8 weeks |
Don’t overfeed—too much fertilizer can weaken flavor. Indoor plants do well with monthly liquid feeds during active growth.
Preventing Common Watering Mistakes
- Avoid daily watering without checking soil—dryness varies by climate and pot size
- Empty saucers after 10 minutes to prevent root rot
- Reduce watering in winter when growth slows
Adjust your schedules as the seasons change. Remember, a little neglect is better than overcare!
Light and Temperature Requirements for Indoor and Outdoor Marjoram
Marjoram loves 6–8 hours of direct sunlight every day. It’s important to place it in bright spots, whether indoors or outdoors. For outdoor plants, choose south or west-facing spots for the best light.
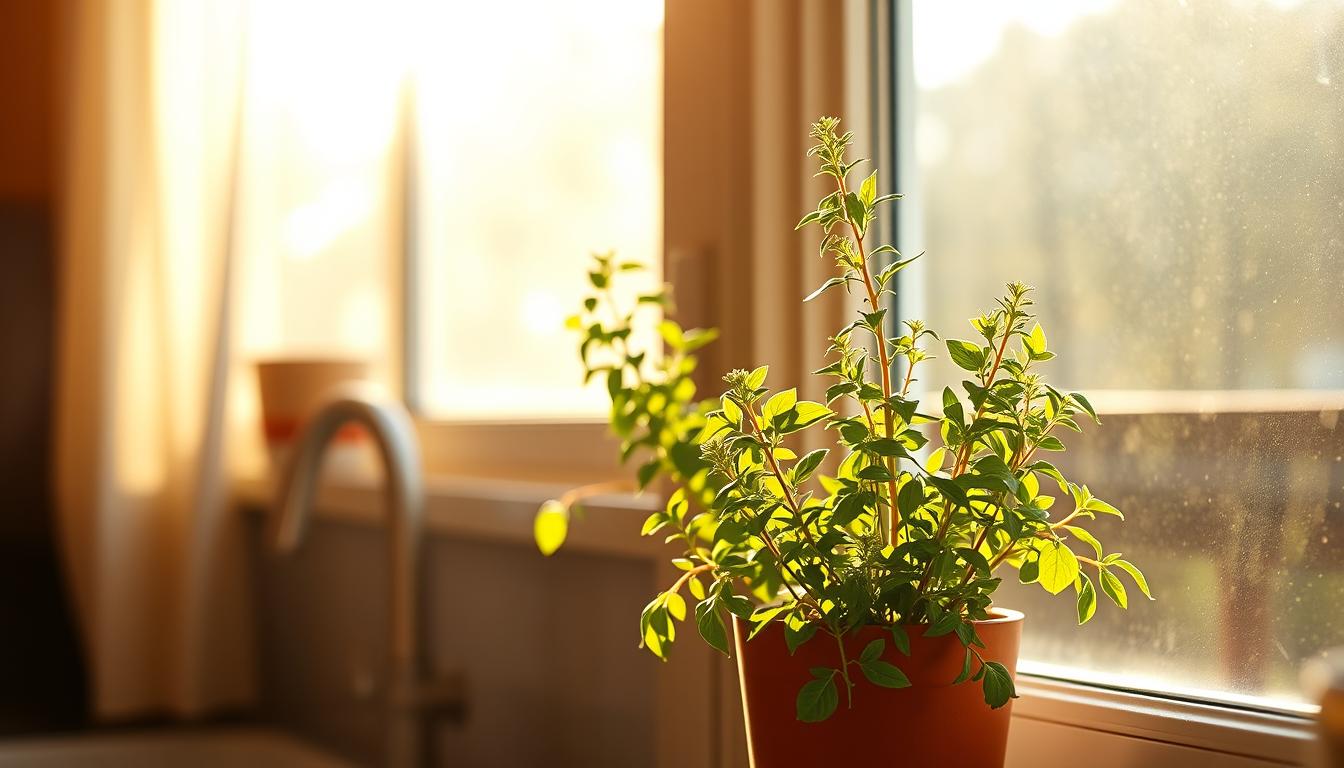
Temperatures between 60–75°F (15–24°C) are perfect for growth. Make sure to protect plants from frost, as marjoram freezes at 30°F (-1°C). In winter, move potted plants to a sunny window or use grow lights.
South-facing windowsills or under fluorescent lights provide enough light all year. This helps keep your plants healthy.
- Keep soil dry between waterings to avoid root rot.
- Use a thermometer to monitor indoor room temps—avoid drafty areas.
- Move outdoor pots to sheltered spots before fall frosts.
In mild USDA zones 9–10, outdoor plants can survive winter. In other zones, treat marjoram as an annual and bring it inside. During winter, water less but keep it warm above 50°F (10°C).
Adjust light exposure based on seasonal daylight changes. This keeps your herbs healthy all year.
Pruning and Harvesting Your Potted Marjoram
Pruning and harvesting are important for Marjoram plant care. They keep your plants healthy and full of leaves. Regular care helps them grow bushy and keeps the harvest going, even indoors.
When and How to Prune for Bushier Growth
- Pinch back young stems when plants reach 6 inches tall to encourage branching.
- Trim flower buds before they bloom to focus energy on leaf production.
- Cut faded flower stems at the base to keep plants neat and healthy.
Harvesting Methods That Promote Continuous Growth
Start harvesting 4–6 weeks after planting. Here’s how:
- Snip stems just above leaf nodes, leaving at least two leaves on each stem.
- Harvest no more than one-third of the plant at a time to avoid stressing it.
- For winter supply, move potted plants indoors to a sunny window and trim regularly.
Preserving Your Marjoram Harvest
Here’s how to keep your harvest fresh:
- Air-dry sprigs in a dark, ventilated space for 2–3 weeks.
- Freeze leaves in ice cube trays with water or oil for later use.
- Store dried leaves in airtight jars in a cool, dark cupboard.
By following these pruning and harvest tips, your marjoram will thrive. Enjoy fresh herbs all year, indoors or outdoors!
Troubleshooting Common Problems with Potted Marjoram
Even with the right Marjoram care tips, problems can happen. Let’s tackle the most common issues and how to fix them to keep your plants happy.
Yellowing leaves: Too much water is often the culprit. Make sure the soil isn’t too wet. If leaves are pale, they might need more nutrients. Add a weak fertilizer once a month.
Pale leaves on the bottom? That’s a sign of too much water. Pale leaves on the top? That’s a sign of not enough nutrients.
Pest problems:
- Aphids (Myzus persicae): Look for curled leaves and sticky stuff. Clean them off with soapy water or neem oil.
- Spider mites (Tetranychus urticae): Tiny webs are a giveaway. Spray with water or insecticidal soap.
- Whiteflies: Use yellow sticky traps or neem oil sprays.
Fungal issues: Root rot from too much water means you need to repot in fresh soil. For powdery mildew on leaves, improve air flow, cut down humidity, and spray with a baking soda solution (1 tsp to 1 quart water).
Leggy growth: If stems are stretching, it’s because they’re not getting enough sunlight. Move them to a brighter spot and trim back long stems to encourage bushy growth.
Winter stress: If it gets too cold, bring your plants inside. Water less and don’t overfertilize when they’re dormant. For plants that come back every year, cut back dead parts in early spring.
Regular checks can help catch problems early. Follow these Tips for growing Marjoram in containers to keep your plants healthy and enjoy fragrant herbs all season.
Conclusion: Enjoying the Rewards of Your Potted Marjoram Garden
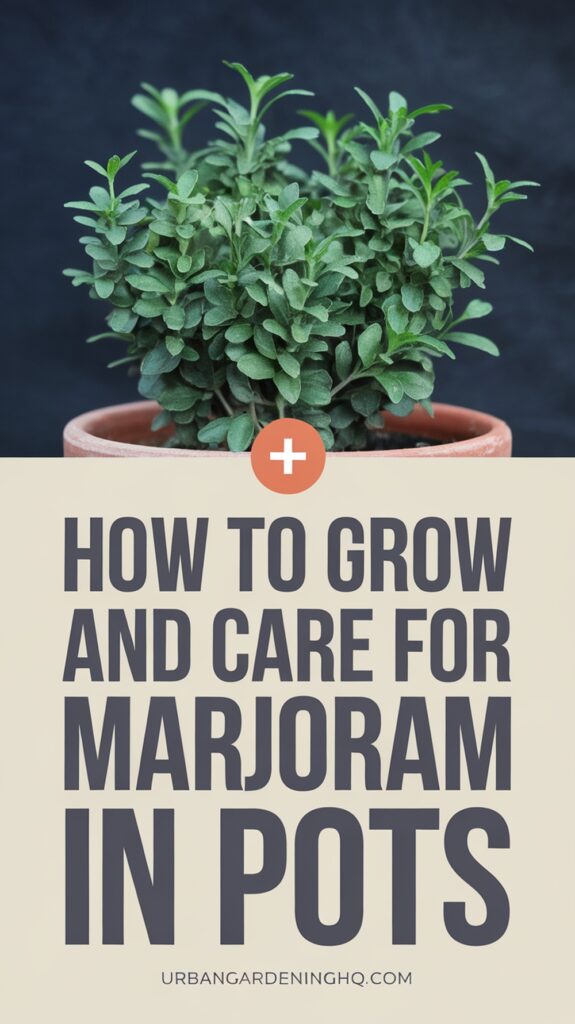
Harvesting fresh marjoram from your own container gardening marjoram setup is a rewarding achievement. Whether you’re using a small balcony or a sunny kitchen windowsill, potting marjoram plant offers flexibility and convenience. Imagine snipping leaves for a homemade tomato sauce or sprinkling flowers into salads—they add both flavor and color to everyday meals.
This herb’s mild, sweet taste shines in dishes like roasted vegetables or grilled meats, making it a staple in Mediterranean cooking. Beyond the kitchen, its aromatic leaves can be dried to make tea or infused into oils for homemade remedies. Traditional uses highlight its ability to soothe digestion and promote relaxation, aligning with its historical nickname, the “herb of happiness.”
Its compact size makes it perfect for small spaces, and its scent naturally attracts pollinators like bees. As your plants thrive, consider expanding your collection with herbs like basil or thyme for a fragrant herb cluster. Experimenting with varieties like golden marjoram adds visual interest to your pots.
Year-round container gardening marjoram ensures you always have fresh herbs on hand. Whether you’re using leaves in a dressing, drying stems for later, or simply enjoying its aroma, this herb offers endless possibilities. Embrace the joy of growing your own and discover how easy it is to enjoy marjoram’s versatility in every season.


