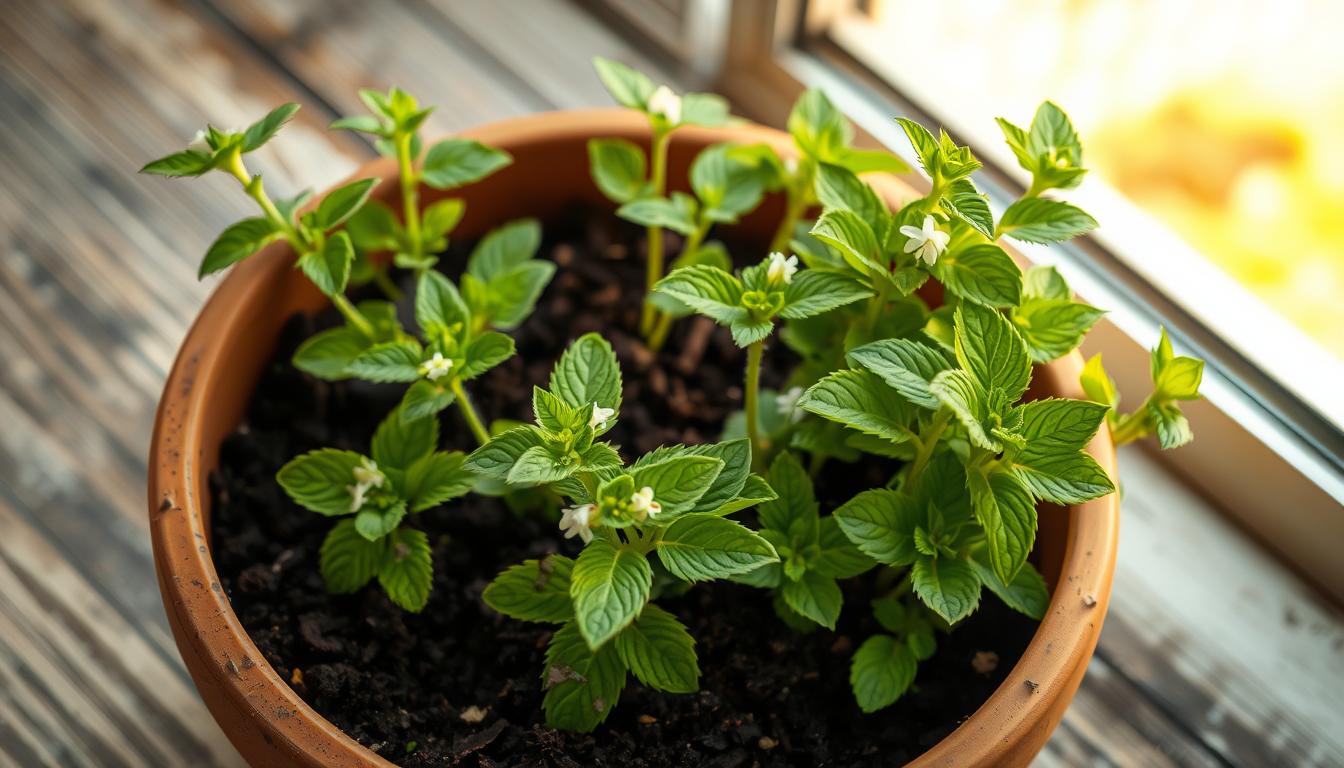
Learning to grow lemon balm in pots can bring fresh flavor and scent to your home. I’ve found it easy to care for this herb indoors. This guide will share my tips, from picking the right pot to harvesting leaves for teas and recipes.
Lemon balm comes from the Mediterranean and Central Asia. It’s been valued for centuries. Its name, Melissa officinalis, comes from Greek mythology, linking it to honeybees and healing.
Being part of the mint family, lemon balm has a lemony scent. It’s great in teas and cooking. Growing it in pots means you can enjoy it all year. This article will cover soil, sunlight, and growing tips to help your plants flourish.
Introduction to Growing Lemon Balm in Containers
Growing lemon balm in containers is a simple way to enjoy this versatile herb. It keeps the herb from getting too big. This is why it’s a great choice.
What Is Lemon Balm?
Lemon balm ( Melissa officinalis) is a hardy perennial with citrus-scented leaves. It grows 24–36 inches tall and forms tidy clumps in pots. Unlike some mints, it spreads via seeds but stays manageable in containers. It can handle cold down to -20°F, making it a great choice all year.
Benefits of Growing Lemon Balm in Pots
Container gardening helps with two big issues: stopping self-seeding and controlling size. Pots let you move plants to the best sun spots and protect them from harsh winters. Plus, it’s easier to harvest when plants are near your kitchen.
- Choose pots at least 12 inches wide to match its root spread
- Use pots with drainage holes to avoid root rot
- Bring indoors before frost to extend harvests
Why I Love Container-Grown Lemon Balm
I love using 14-inch terracotta planters filled with Plantura Organic All Purpose Compost. Containers let me place pots near my cooking area for quick access. When aphids appeared, a soapy water spray fixed the problem instantly. Overwintering is easy—just prune back and wrap pots with fleece for cold months.
| Tip | Details | Why It Matters |
|---|---|---|
| Container Size | 12”+ diameter with drainage | Prevents root crowding |
| Watering | Once weekly, soil moist but not soggy | Avoids root rot |
| Winter Care | Prune, mulch, and move to sheltered spots | Ensures year-round growth |
Selecting the Perfect Pot for Lemon Balm
Finding the right pot is key for a lemon balm potting guide. The best pot looks good and works well to keep plants healthy.
Ideal Pot Size and Material
Lemon balm needs space to grow without getting waterlogged. Start with pots 2–4 inches wide for seedlings. Then, move them to 8 inches (20 cm) or bigger pots as they grow.
I’ve tried terracotta and plastic pots. Terracotta breathes but dries out fast. Plastic holds moisture longer. Make sure your pot is at least 8 inches deep. Ceramic pots are stylish, and fabric pots are flexible—just check they drain well.
Drainage Requirements
Drainage holes are essential for lemon balm container care. Without them, roots can rot fast. I put a 1-inch gravel layer at the bottom to help with drainage.
This setup lets water out while keeping the soil in. It stops roots from getting too wet.
Decorative vs. Practical Considerations
Choose pots that are both stylish and practical. Terracotta is rustic, while plastic fits modern homes. My top tip is to use a small ceramic pot with hidden drainage saucers to protect floors.
Go for pots 8+ inches wide, add drainage, and mix style with usefulness. These steps help your lemon balm grow well in any spot.
Soil Requirements and Preparation
Healthy soil is key for caring for lemon balm in pots. Lemon balm thrives in loose, nutrient-rich soil with a pH of 6.5 to 7.0. Mix equal parts potting soil, compost, and perlite for good drainage and airflow. For pots, I use Miracle-Gro® Performance Organics® All Purpose Container Mix as a base. It’s pre-fortified and holds moisture well.
Here’s my recipe for success:
- Use a 20cm (8in) pot filled with 60% potting mix, 30% compost, and 10% perlite.
- Add a handful of aged compost to the topsoil each spring for ongoing lemon balm growing tips.
- Test soil pH yearly with a home kit and amend with lime if levels drop below 6.5.
| Component | Ratio | Function |
|---|---|---|
| Potting soil | 60% | Base structure |
| Compost | 30% | Nutrient source |
| Perlite | 10% | Improves drainage |
Mulching with straw or shredded leaves keeps moisture in and weeds out. Feed monthly with a diluted fertilizer during growth. Avoid heavy clay soils to prevent root suffocation. Follow these steps for lush, productive potted lemon balm all season.
How to Grow and Care for Lemon Balm in Pots: Step-by-Step Guide
Ready to start your lemon balm journey? Let’s explore the best ways to grow this herb in containers. Whether you’re starting from seeds, transplanting, or using cuttings, each method has its own tricks. Follow these steps to ensure your plants thrive in pots.
Starting from Seeds
Begin indoors 6-8 weeks before your last frost date. Sprinkle seeds on top of seed-starting mix and press gently. Cover with a thin layer of compost or vermiculite. Keep soil moist but not soggy. Germination happens in 2-3 weeks. I’ve found starting in Black Gold or Fafard potting mixes boosts success.
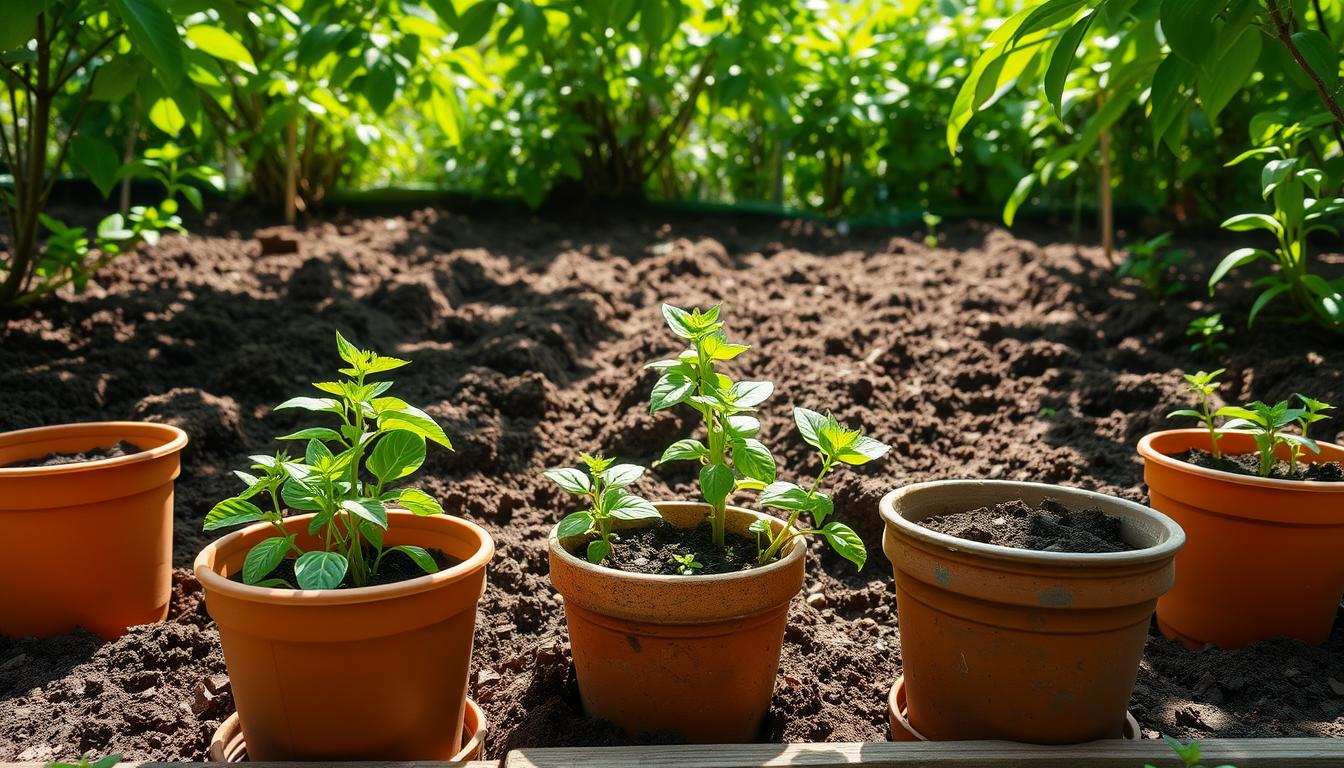
Transplanting Seedlings
Once seedlings have 2-3 leaves, harden them off gradually over a week. Plant in pots at least half-gallon size. Bury stems up to the first leaf node. Space plants 12-18” apart to prevent overcrowding. Lemon balm pot care requires well-drained soil with pH 6.5-7.0. Water when the top 1-2” of soil feels dry.
Using Cuttings for Propagation
Clip 4-6” stem cuttings in spring. Remove lower leaves and dip ends in rooting hormone. Plant in moist soil and cover with a plastic bag for humidity. Roots form in 2-3 weeks. My favorite tip? Mix perlite with compost to speed rooting.
| Method | Key Steps | Tips |
|---|---|---|
| Seeds | 1. Sow indoors 6-8 weeks before last frost. 2. Surface sow, light cover. 3. Keep moist. | Use Black Gold or Fafard for pH 6.5-7.0 soil. |
| Transplanting | 1. Harden off seedlings. 2. Plant in ½ gallon pots. 3. Space 12-18″. | Water when top 1-2″ of soil is dry. |
| Cuttings | 1. Take stem cuttings in spring. 2. Root in water/soil. 3. Transplant when roots form. | Rooting hormone like Rootone boosts success. |
Experiment with these methods and watch your lemon balm flourish. Adjust spacing and soil mix based on your climate—success comes with patience and consistent care!
Watering and Sunlight Needs for Potted Lemon Balm
Watering and sunlight are vital for potted lemon balm. These tips make caring for lemon balm in pots easy. Your plants will stay lush and fragrant all year.
Creating the Ideal Watering Schedule
Here’s how I keep my plants happy:
- Check soil moisture weekly. Stick your finger 2 inches deep—if dry, water thoroughly.
- Water until liquid drains from the pot’s bottom, then empty saucers to avoid root rot.
- In heatwaves, increase watering to every 2-3 days. Wilting leaves mean it’s time to water.
Sunlight Requirements Through the Seasons
Adjust light exposure as seasons change:
- Spring: 4–6 hours of morning sun, with shade in the afternoon.
- Summer: 6 hours of morning light. Shield from harsh afternoon sun to prevent scorching.
- Winter: Move plants to sunny south-facing windows. Rotate pots weekly for even growth.
Indoor vs. Outdoor Placement
My setup works like this:
- Outdoor: Use terracotta pots for drainage. Position where they get morning sun and afternoon shade.
- Indoor: Place near windows with bright light. Use LED grow lights in low-light areas. Misting boosts humidity indoors.
Following these steps ensures healthy growth and maximizes harvests. Adjust schedules as needed based on your climate and pot type.
Pruning and Maintaining Healthy Lemon Balm Plants
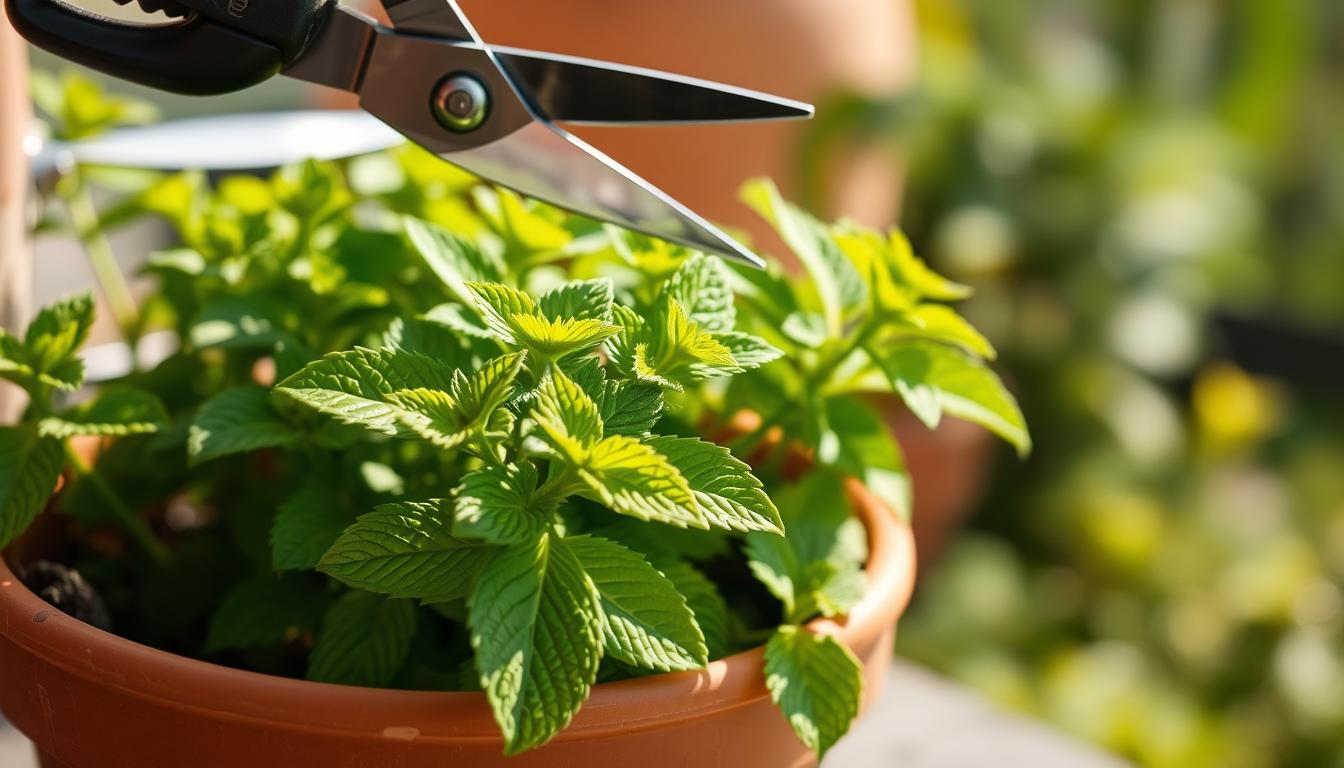
Regular pruning is key to keeping potted lemon balm maintenance simple and your plants thriving. Cutting back stems encourages bushier growth and stops legginess. Start by removing dead or damaged leaves immediately to prevent disease spread. Use sharp, clean shears to make clean cuts above leaf nodes—this boosts new growth and keeps plants full.
- Prune by early summer to delay flowering and boost oil content in leaves.
- Cut back by a third in late winter/early spring to rejuvenate growth.
- Deadhead spent flowers to stop self-seeding and encourage new growth.
| Task | Best Time | Why It Works |
|---|---|---|
| Heavy pruning | Late winter | Encourages vigorous new growth |
| Pinching tips | Spring to early summer | Promotes bushy shape |
| Remove flowers | As blooms fade | Prevents unwanted spread |
I always sterilize tools between cuts to avoid spreading disease. For variegated varieties, pruning in early summer keeps colorful foliage vibrant. Every three years, divide overgrown plants in autumn to refresh soil and roots. Never prune more than one-third at once—this avoids stressing the plant. Proper lemon balm pot care means less work long-term and bigger harvests!
Common Problems and Solutions for Container-Grown Lemon Balm
Even with the right lemon balm container care, pests or diseases can pop up. These lemon balm growing tips will help you identify and solve problems fast.
Pest Management
While lemon balm fights off many insects, keep an eye out for:
- Aphids: Clean leaves with a damp cloth. Use diluted neem oil or insecticidal soap for spraying.
- Spider Mites: Mist leaves every day. Move infested plants away and cut off damaged stems.
Disease Prevention and Treatment
| Problem | Solution |
|---|---|
| Mint Rust | Trim off infected leaves. Thin out plants for better air flow. Soak roots in 100°F water for 30 mins to slow spores. |
| Powdery Mildew | Remove sick leaves. Use sulfur-based fungicide if it’s needed. |
| Verticillium Wilt | Get rid of sick plants. Sterilize containers before using them again. |
Troubleshooting Growth Issues
Here’s how to fix common growth problems:
- Yellow Leaves: Let the soil dry 2″ deep. Repot in fresh, well-draining soil if roots are mushy.
- Pale Stems: Move to partial shade. Cut off long stems to make the plant bushier.
- Poor Flavor: Pick leaves often to make the plant grow new ones. Fertilize monthly with compost tea.
Regular checks and quick action keep plants healthy. My experience shows that mulching and timely pruning prevent many problems. Stay alert for the best results!
Harvesting and Using Your Lemon Balm
When your lemon balm grows well in pots, it’s time to enjoy its flavors and scents. Whether you’re good at lemon balm container gardening or learning how to grow and care for lemon balm in pots, harvesting is rewarding. Here are the best ways to use your fresh herbs.
When and How to Harvest
Timing is key! Harvest stems in the morning after dew dries. This ensures the highest oil content for flavor. Always cut stems just above a leaf node to encourage bushy growth.
Avoid taking more than two-thirds of the plant at once. This keeps it healthy. For the best flavor, pick leaves before flowers appear. Blooming makes leaves bitter and attracts pollinators.
Preserving Methods
- Dry: Hang small bundles upside-down in a warm, dark area or spread on a baking sheet in indirect sunlight. Store dried leaves in airtight jars.
- Freeze: Chop leaves and freeze in olive oil cubes or ziplock bags. Or blend with water to make ice cubes for future recipes.
- Infuse: Preserve in vinegar or oil for dressings. My favorite trick? A dehydrator set at 100°F locks in fragrance and color.
My Favorite Uses
I love adding fresh leaves to lemonades, salad dressings, or as a garnish for grilled fish. For relaxation, I steep dried leaves into calming tea. It helps digestion when brewed with chamomile.
Try infusing it in honey or butter for baking. Its citrusy notes are great with berries in muffins! Just remember, add fresh leaves toward the end of cooking to keep their bright flavor.
Conclusion: Enjoying the Rewards of Your Potted Lemon Balm
By following these tips, you can enjoy lemon balm all year. My plants do well when I protect them from cold. Whether it’s a garage or mulch, they stay healthy.
Having a potting guide helps you care for your lemon balm through every season. You’ll know when to prune and how to keep roots warm. This herb is great for many things: teas, salads, and even homemade sprays.
Its green leaves and white flowers make patios look better. Pollinators also love it. Dried or fresh, lemon balm is versatile in cooking.
When spring comes, I cut back old growth to encourage new leaves. This way, I get to enjoy its health benefits again. Starting with a small pot is easy and rewarding. With the right care, lemon balm becomes a key ingredient in your kitchen and a source of calm.
