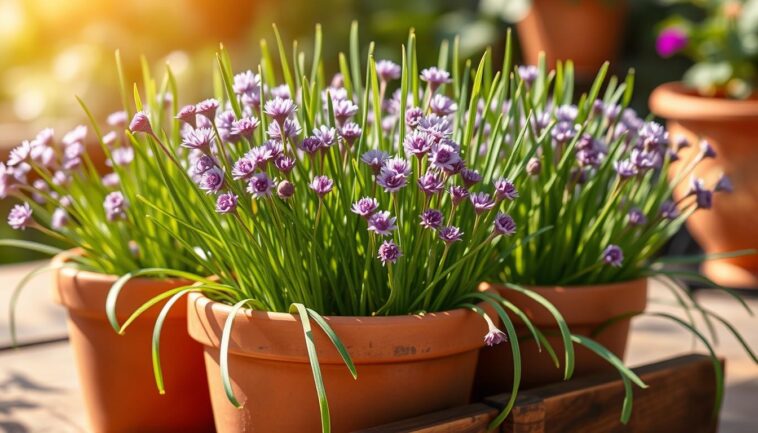
Starting to grow chives in pots is easy. They do well in 8- to 12-inch-deep pots. These are great for sunny spots in your kitchen or on a balcony.
Their leaves look like grass, and they have purple flowers. This makes them a beautiful addition to any place. They also add fresh flavor all year.
Whether you’re new to gardening or have lots of experience, growing chives in pots is simple. You just need the right soil, plenty of sunlight, and enough space. With these things, you’ll get a steady supply of this easy-to-grow herb.
Let’s dive into how to make your container garden thrive!
Why Chives Are Perfect for Container Gardening

Container gardening with chives turns small spaces into productive herb patches. These versatile plants thrive in tight quarters, making them a top choice for urban gardeners. Even in cramped urban settings, chives adapt easily to pots, delivering fresh flavor and beauty year after year. Their compact growth habit means you can grow them anywhere—balconies, patioss, or indoor shelves.
Space-Saving Benefits for Small Gardens
Chives require minimal room to flourish. Their shallow roots and modest height (12-18 inches) mean they fit perfectly in 6- to 8-inch pots. Balcony chives growing is effortless—position them on ledges, hanging planters, or vertical gardens. I’ve seen them thrive in tiny urban apartments, proving that even a 12-inch pot holds enough space for a thriving plant. Their compact size eliminates the need for large garden beds, making them a must-have for small-space growers.
Year-Round Access to Fresh Herbs
Unlike seasonal herbs, container gardening chives offer harvests all year. By moving pots indoors during winter, you can clip fresh leaves for cooking anytime. I keep mine near sunny kitchen windows, ensuring a steady supply of flavor. This adaptability makes balcony chives growing a smart choice for gardeners who crave herbs without seasonal limits.
Ornamental Value of Potted Chives
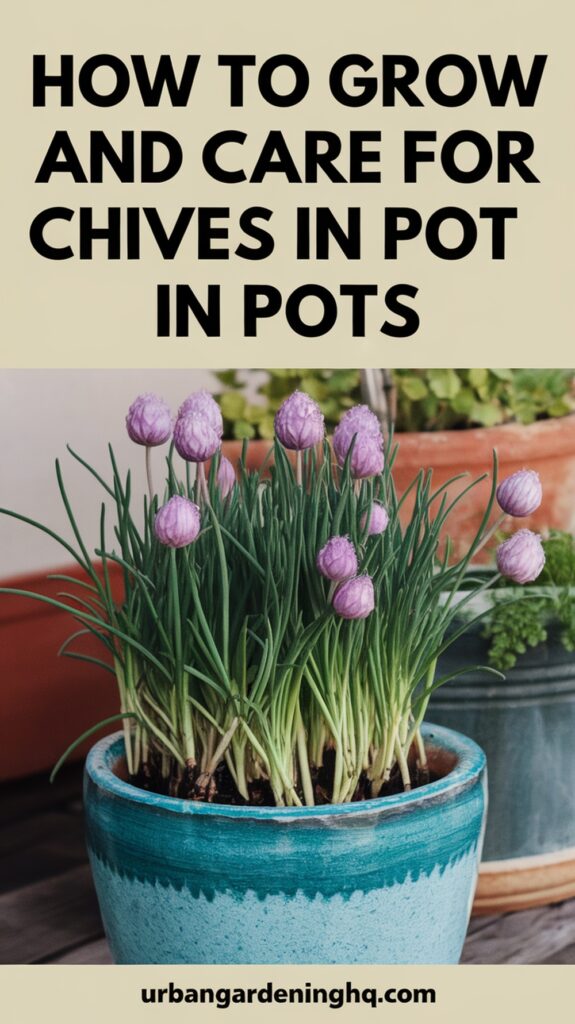
Beyond their culinary use, their lavender-like flowers add visual flair. I’ve paired them with other herbs to create lively container displays. The blooms attract pollinators like bees, boosting garden health. Their tidy clumps of slender leaves also look sharp in decorative pots, proving that container gardening chives blend beauty with function.
Choosing the Right Pot for Your Chives
Finding the right pot is key for growing chives in pots. Chives need a pot that’s 7–12 inches deep. This gives their roots room to grow without getting too crowded. Start with small pots (4–6 inches) for seedlings and move them to bigger ones as they grow.
- Size Matters: Use small pots (4–6 inches) for seedlings, medium (8–10 inches) for growing plants, and large (12+ inches) for mature chives.
- Drainage is Key: Make sure pots have 2–3 drainage holes. Add a 1-inch layer of expanded clay or gravel at the bottom to stop waterlogging.
When it comes to materials, you have a few options:
- Terracotta: It breathes well but dries out quickly. Great if you’re careful with watering.
- Plastic: It’s light and cheap. Ideal for indoor caring for potted chives if you travel a lot.
- Ceramic: It looks good but make sure it has drainage holes. Chives don’t like wet soil.
- Metal: It’s strong but keep it away from direct sun to avoid overheating the roots.
Transplant seedlings into bigger pots when they’re 4–6 inches tall. Keep 6 inches between plants in shared pots. For easy moving, use light plastic or wheeled plant stands.
Essential Supplies for Growing Chives in Containers
Growing chives in pots needs the right tools and materials for healthy growth. Let’s look at each essential item needed for success.
Pot Selection and Drainage Considerations
Choose pots with drainage holes to avoid waterlogging. Add a 1-inch gravel layer at the bottom for better airflow. If your containers don’t have drainage, drill holes or use self-watering pots like those from Gardener’s Supply Company. Elevate pots with pot feet to prevent moisture buildup.
Quality Soil Mix Requirements
Chives need a fertile yet well-drained soil mix. Aim for a pH of 6.0-7.0. Mix 3 parts Miracle-Gro Performance Organics Container Mix with 1 part compost for the best drainage and nutrients. Here’s how to create your own mix:
| Component | Role | Example |
|---|---|---|
| Peat moss or coconut coir | Moisture retention | Earthgro Premium Peat Moss |
| Perlite or coarse sand | Drainage improvement | Black Gold Natural & Organic Perlite |
| Composted manure | Nutrient source | Jobe’s Organic Composted Manure |
Tools and Additional Equipment
- Pruning shears for harvesting
- Watering cans with rose nozzles to prevent soil erosion
- Soil moisture meters to check hydration levels
- Organic mulch to retain soil moisture
Regularly check soil moisture and adjust watering schedules. Use organic fertilizers like Espoma Organic Herb Tone every 4-6 weeks for steady growth. Proper supplies are key for thriving chives in any container setup.
The Best Chive Varieties for Container Growing
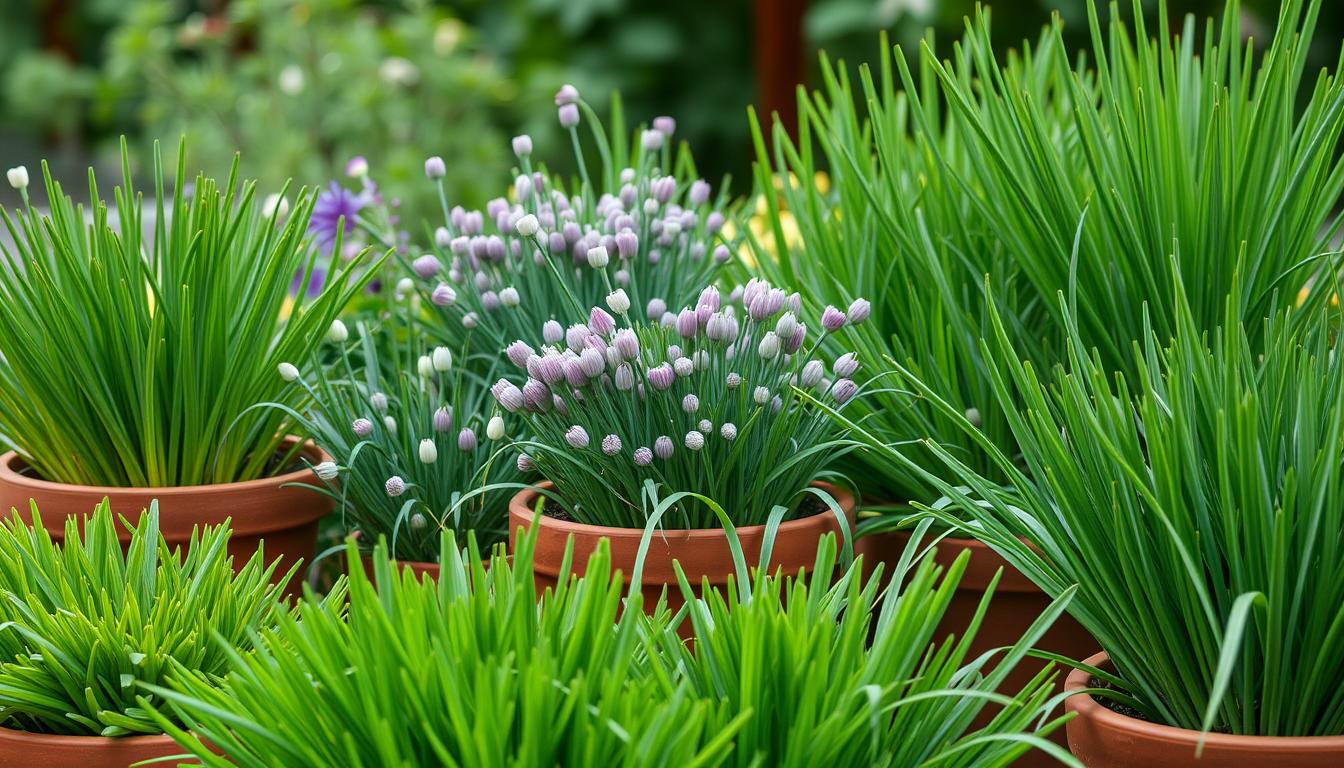
Choosing the right chive variety is key for growing them in pots. Three types stand out for container growing, each with its own flavor and size. Find the perfect match for your garden’s space and style for successful chives planting.
| Variety | Height | Leaf Type | Flavor | Pot Size |
|---|---|---|---|---|
| Common Chives | Up to 30cm | Hollow, round | Mild onion | 8–12 inches |
| Garlic Chives | Up to 50cm | Flat | Mild garlic | 8–12 inches |
| Giant Siberian Chives | Up to 60cm | Flat | Robust garlic | 12–16 inches |
Common Chives (Allium schoenoprasum)
- Grow 12-inch tall with purple pom-pom flowers
- Prefer 8–12 inch pots for bushy growth
- Start with Bonnie Plants® seedlings for reliable results
Garlic Chives (Allium tuberosum)
- Flat leaves and white star-shaped blooms
- Perfect for small pots like strawberry jars
- Use fresh in stir-fries or as a garnish
Giant Siberian Chives (Allium nutans)
- Grow 24 inches tall with blue-mauve flowers
- Require 12–16 inch pots to avoid overcrowding
- Survive cold climates and tolerate partial shade
Use well-draining soil mixes like Miracle-Gro® for all types. Adjust pot sizes as they grow to keep them healthy. Whether for flavor or beauty, these varieties are perfect for any container setup.
How to Grow and Care for Chives in Pots: Step-by-Step Guide

Starting chives in containers is easy with this guide. First, choose how to plant chives: seeds or divisions. For seeds, plant them 5mm deep in groups of 3-4 in Scotts Performance Naturals™ Premium Organic Based Potting Mix. Water them gently to prevent soil compaction and keep the soil moist until sprouts appear in 10-14 days.
To start divisions, separate clusters from existing plants. Plant them 20-25cm apart in pots 30-40cm deep with drainage holes.
- Fill pots with well-draining soil mix, leaving 2-3cm space at the top. Firm soil gently around roots or seeds.
- Water thoroughly until liquid drains from the bottom. Avoid waterlogging—let soil dry slightly between waterings.
- Place in sunny spots with 6+ hours of direct light daily. Use grow lights if natural light is limited.
- Mulch with organic material after seedlings emerge to retain moisture and suppress weeds.
- Fertilize every 4-6 weeks with half-strength liquid fertilizer during growing season.
Protect young plants from slugs with Defender™ Snail & Slug Pellets. Trim yellow leaves and cut flower stems at soil level after blooming. Harvest by snipping leaves 2cm above soil to encourage regrowth. Check roots monthly; prune overgrown sections to keep plants healthy. With these steps, you’ll enjoy fresh herbs year-round!
Soil Requirements and Preparation for Potted Chives
Healthy chives need the right soil mix. Preparing the soil properly helps your plants grow well. Understanding chives soil requirements starts with pH and drainage. Let’s look at how to create the perfect soil for growing chives in pots.
Ideal Soil pH and Composition
Chives do best in slightly acidic to neutral soil. Aim for a pH between 6.0 and 7.0. Use a home kit to test your soil and avoid nutrient imbalances.
Mix potting soil with equal parts peat moss, perlite, and compost. This mix helps with drainage and keeps moisture in.
Adding Organic Matter and Nutrients
Make your soil richer with organic material. Add 4–6 inches of compost or worm castings on top. Mix it 6–8 inches deep to add nutrients.
Don’t over-fertilize—chives like moderate feeding. A light layer of mulch helps keep moisture in and weeds out.
Creating the Perfect Drainage System
Drainage stops root rot. Here’s how to improve it:
- Add gravel or perlite to the pot’s bottom before planting.
- Choose pots with drainage holes and elevate them using pot feet.
- Incorporate sand or vermiculite into soil mixes to aerate the base.
Regular checks ensure soil isn’t waterlogged.
Follow these steps for thriving growing chives in pots. Focus on pH balance, organic enrichment, and drainage. This will keep your plants lush and productive.
Watering Techniques for Healthy Container Chives
Caring for potted chives is all about finding the right balance. They need water but don’t like wet feet. I water them deeply until water comes out of the pot holes. This makes sure the roots get enough water without drowning.
- Check soil moisture weekly with a finger test: dry top inch means it’s time to water.
- In summer, water twice weekly to combat heat; reduce to once weekly in winter.
- Mulch with compost or pebbles to slow evaporation and keep roots cool.
- Avoid wetting leaves to prevent mildew—always target the soil base.
I let the top 2 inches dry before watering again to prevent root rot. If leaves start to wilt, it’s a sign they need more water. But if the tips turn yellow, they’re getting too much. I use rainwater or dechlorinated tap water to avoid salt buildup.
Adjust how often you water based on the pot material and where it’s placed. A moisture meter can help if you’re unsure. Keeping the balance right will keep your chives looking great all season.
Sunlight and Temperature Requirements for Potted Chives
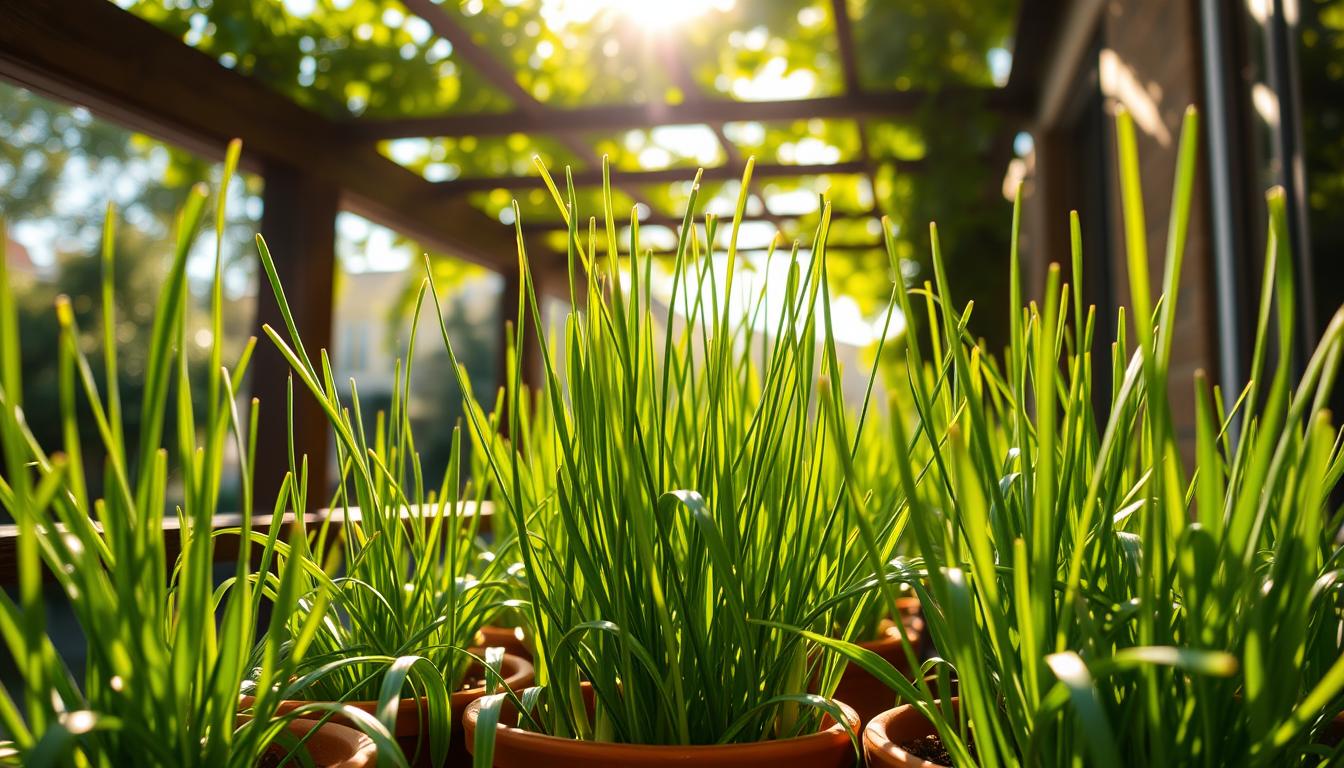
Chives love 6 hours of sunlight a day but can adjust. For indoor chives care, choose bright spots. On balconies, balcony chives growing areas facing south or west are ideal. Let’s look at how to adjust light and temperature for their growth.
Indoor Light Considerations
Indoor plants need light from south-facing windows or artificial lights. LED grow lights are great for little natural light. They should get 12–14 hours of light each day. Rotate pots weekly for even growth. Keep the temperature between 60–75°F (15–24°C).
- Use reflective surfaces to boost light
- Adjust light duration with seasons
- Avoid drafty windowsills in winter
Outdoor Placement Tips
Outdoor chives need morning sun and afternoon shade in hot areas. For balcony chives growing, pick spots with 6 hours of light. In Zone 9, avoid direct midday sun. Use pavers or walls to reflect warmth.
| Challenge | Solution |
|---|---|
| Low light on north-facing balconies | Supplement with grow lights |
| Wind exposure | Secure pots with anchors or screens |
Seasonal Light Adjustments
Chives go dormant below 39°F (4°C). In winter, move them indoors or to sunnier spots. Water less during dormancy. In summer, move them to dappled shade if it’s over 85°F (29°C).
By balancing light and temperature, your chives will stay vibrant all year. Adjust their spots slowly to avoid shock. Watch them thrive in any setting.
Fertilizing Schedule and Best Practices
Fertilizing is key to thriving chives in pots. Too much fertilizer can harm their flavor and health. It’s important to find the right balance for caring for potted chives. Follow these steps to keep your plants healthy without overfeeding.
- Use organic options like compost tea, fish emulsion, or well-rotted manure for gradual nutrient release.
- Apply a 5-10-5 fertilizer once yearly in early spring for outdoor plants.
- For indoor chives, use diluted liquid fertilizer (half-strength) every 4-6 weeks during growing months.
- Avoid synthetic fertilizers unless soil tests show deficiencies.
| Season | Fertilizer Type | Application |
|---|---|---|
| Early Spring | 5-10-5 fertilizer | Light application |
| Mid-Summer | Half-strength liquid fertilizer | Every 4-6 weeks |
| Late Fall | Compost or fish emulsion | Mild feeding |
Watch for yellow leaves or slow growth—these signal nutrient needs. Overly lush growth with weak flavor warns of overfeeding. Test soil pH every 1-2 years to maintain 6.0–7.0 levels. For poor soil, use Bulb-tone fertilizer annually to boost organic matter.
Avoid full-strength fertilizers to prevent root burn. Light, consistent feedings ensure robust harvests. Adjust based on plant response, and never fertilize in winter when growth slows.
Harvesting and Pruning Your Potted Chives
Proper chives harvesting and chives pruning tips keep your plants healthy and full of flavor. Let’s look at how to make your chives grow well and taste great.
When and How to Harvest Chives
Start harvesting when leaves are 8–10 inches tall. Use sharp scissors to cut stems 1–2 inches above the soil. This helps the plant grow back and keeps it healthy.
To store, freeze chopped leaves in ice cube trays with water. Or, keep them in paper towel-lined containers in the fridge. Don’t cut more than one-third of the plant at once to avoid stressing the roots.
Pruning Techniques for Bushy Growth
Chives pruning tips like regular trimming help plants grow fuller. Cut plants back to 2–3 inches in early summer to encourage new growth. Divide overcrowded clumps every 3–4 years to keep them strong.
Always sterilize your tools between cuts to prevent disease.
Handling Chive Flowers
Remove flower stalks at soil level after they bloom to focus on leaf growth. While chive blossoms are tasty in salads, they take energy from leaves. Cut off spent blooms to keep your plant focused on growing leaves.
Common Problems and Solutions for Container-Grown Chives
Growing chives in pots can sometimes pose challenges, but most issues are easy to fix with the right care. For extra tips, explore container gardening basics. Here’s how to tackle common hurdles:
- Overwatering: Soggy soil leads to root rot. Let the top inch of soil dry before watering again.
- Pests: Aphids or spider mites may appear indoors. Wipe leaves with soapy water or introduce ladybugs. For severe cases, use neem oil. Indoor chives care requires regular checks.
- Poor light: Leggy stems mean your plant needs more sun. Move containers to a sunny windowsill or outdoor spot with 6+ hours of light daily.
- Nutrient deficiency: Yellow leaves signal low nutrients. Feed with a balanced fertilizer every 4-6 weeks.
- Soil compaction: Repot every year in fresh, well-draining mix to prevent root suffocation. Add compost for better soil health.
- Flowering too early: Snip flower buds to encourage leaf growth. Blooming drains energy from the plant.
- Downy mildew: Yellow spots and fuzzy growth? Boost airflow and avoid wetting leaves. Remove infected parts immediately.
Prevent issues by checking soil moisture regularly and inspecting plants weekly. For indoor chives care, dust leaves gently to avoid pest buildup. With these fixes, your chives will thrive season after season.
Conclusion: Enjoying the Fruits of Your Container Herb Garden

There’s nothing like the freshness of homegrown chives in my meals. My balcony turned into a kitchen staple with container gardening chives. Every harvest is rewarding, from freezing leaves for winter to adding flowers to drinks.
Their purple blooms attract pollinators, and their leaves deter pests. This makes them perfect for small spaces. Even when I forget to water, they keep producing, showing their toughness.
Chives harvesting is so easy it feels effortless. A quick snip adds flavor to eggs or soups. Their resilience means no wasted effort. Pair them with basil or thyme in pots, and you’ve built a garden that fits anywhere.
Container gardening chives isn’t just convenient—it’s a step toward reducing grocery trips and connecting with nature. Every clip of leaves feels like a win for my kitchen and the planet.
I dry or freeze extras to enjoy year-round, ensuring no waste. Their ability to thrive in pots shows how simple it is to grow your own herbs. Happy cooking—and keep exploring your green thumb!
