Bay laurel (Laurus nobilis) is a Mediterranean tree loved for its aromatic leaves. These leaves are great in soups, stews, and herb mixes. Growing bay laurel in pots is easier than you might think.
It’s not as picky as citrus trees. With simple care, it thrives in containers. Fresh bay leaves from your plant taste better than store-bought ones.
My guide will show you how to pick the right pot and prune your plant. It’s perfect for both new saplings and old plants. You’ll learn how to create the best environment for your bay laurel.
This includes choosing the right pot size, soil mix, and finding the perfect balance of water and light. Let’s get started.
Your potted bay laurel can grow up to 5-6 feet tall in a 24-inch container. It will become a key part of your kitchen and a beautiful addition to any room. Stay tuned for tips on watering, winter care, and avoiding common mistakes like overwatering. Let’s make your pot a bay leaf paradise!
Introduction to Bay Laurel as a Container Plant

Bay laurel is a favorite for container gardens. It has aromatic leaves and grows compactly. This makes it perfect for any space, whether it’s a patio or kitchen window.
Why Bay Laurel Thrives in Containers
This Mediterranean plant loves being in pots. It grows slowly, which means it won’t take over. Its roots stay healthy in pots with good drainage.
Unlike garden plants, bay laurel in pots is easy to prune. It loves well-drained soil, which pots can provide with the right holes.
Benefits of Growing Bay Laurel in Pots
- Easy relocation to protect from frost or pests.
- Space efficiency for small gardens or urban balconies.
- Decorative appeal as a year-round evergreen focal point.
- Convenient harvesting for cooking without damaging the plant.
Bay Laurel Characteristics and Growth Habits
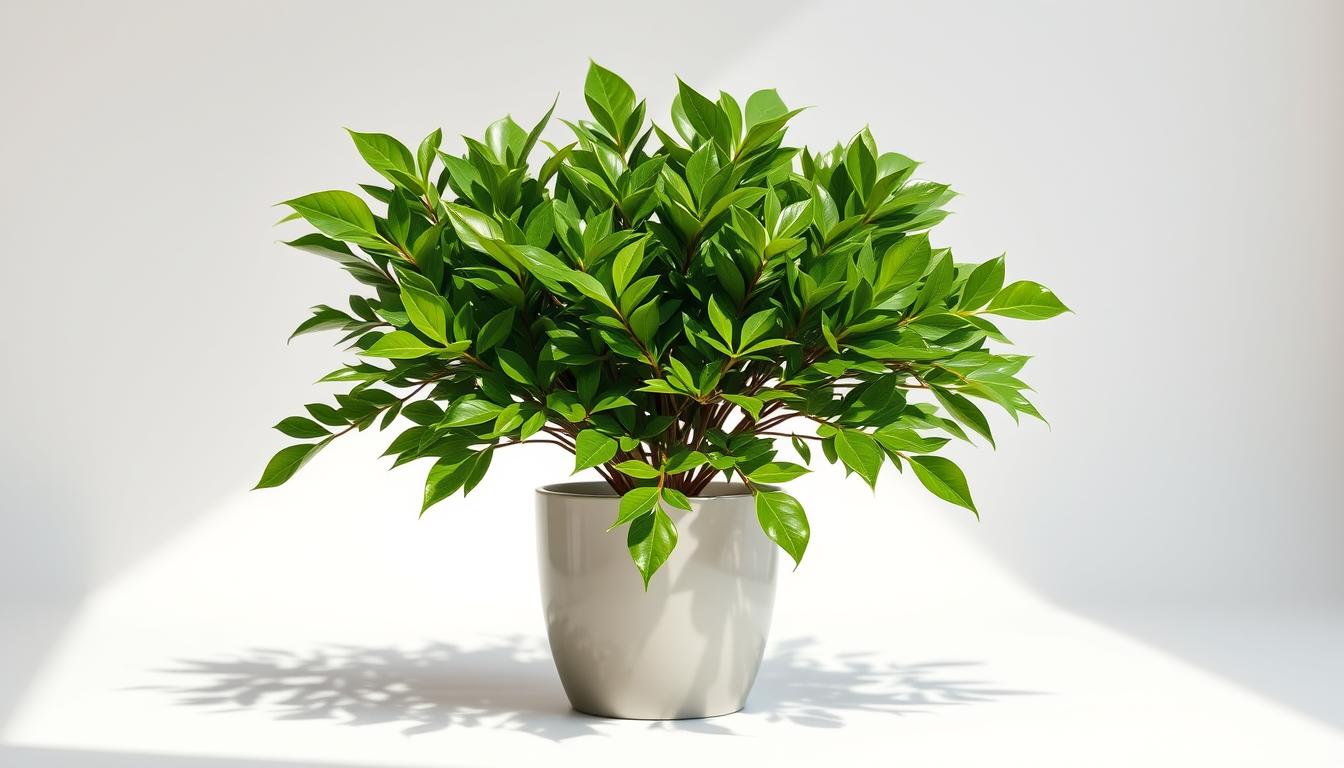
Bay laurel has glossy, pointed leaves and a compact shape. It grows 1–2 feet each year, staying under 8 feet tall. Its evergreen leaves add interest all year.
Container plants like bay laurel are smaller than those in the garden. This makes them perfect for gardeners who prefer a smaller size. Plus, they grow slowly, so they won’t outgrow their pots for years.
Selecting the Right Bay Laurel Plant for Your Container
Choosing the right bay laurel means checking its scientific name: Laurus nobilis. This name ensures the leaves are safe for cooking. Be careful not to confuse it with toxic plants like California bay.
Look for plants with deep green leaves and no signs of yellowing or spots. Check the roots by gently tilting the pot. They should be well-rooted, not tangled.
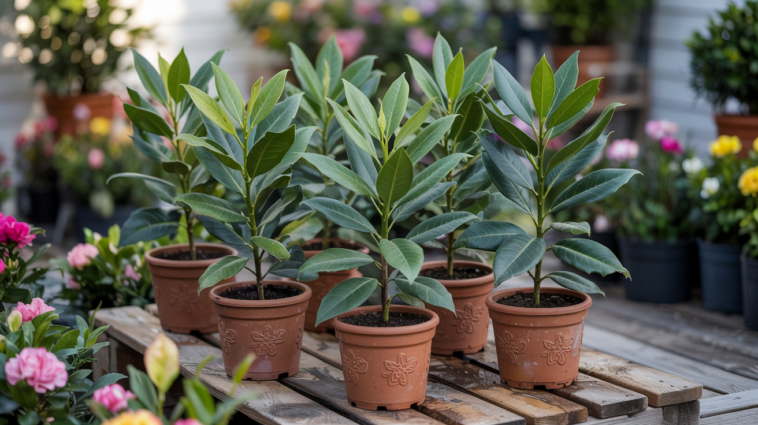
When picking a bay laurel, make sure it fits your container. A 12-inch seedling can grow up to 4–6 feet tall. Choose a size that matches your space.
Some bay laurels have unique leaves, like ‘Angustifolia’ or ‘Undulata’. But for the best flavor, stick with Laurus nobilis.
- Choose Laurus nobilis for cooking—other names can be misleading
- Check stems for firmness and roots for health
- Match plant size to your container’s final capacity
- Research cultivar traits before buying to balance taste and appearance
Starting small is best. A 12-inch seedling is easy to care for in a pot. If you cook a lot, choose pure Laurus nobilis. Avoid stressed plants with yellow leaves or soft stems.
Essential Supplies for Growing Bay Laurel in Pots
Container gardening bay laurel needs the right tools and materials. Let’s look at what you need to help your plant thrive.
Choosing the Perfect Container
Drainage is key: pick pots with at least one hole per 12 square inches. Un glazed terra cotta dries faster, while plastic stays moist longer. A 24-inch pot is good for a 5–6-foot tree.
Bay laurel grows best slightly root-bound. Start small and upgrade as needed. Always prioritize drainage to avoid soggy soil—this bay laurel potting tip keeps roots safe from rot.

Best Soil Mix for Potted Bay Laurel
Mix 1 part cactus soil with 4 parts all-purpose potting soil. Add perlite and compost for drainage and nutrients. Aim for a pH of 6.0–6.5.
This blend prevents waterlogging and keeps roots aerated. It’s critical for container gardening bay laurel.
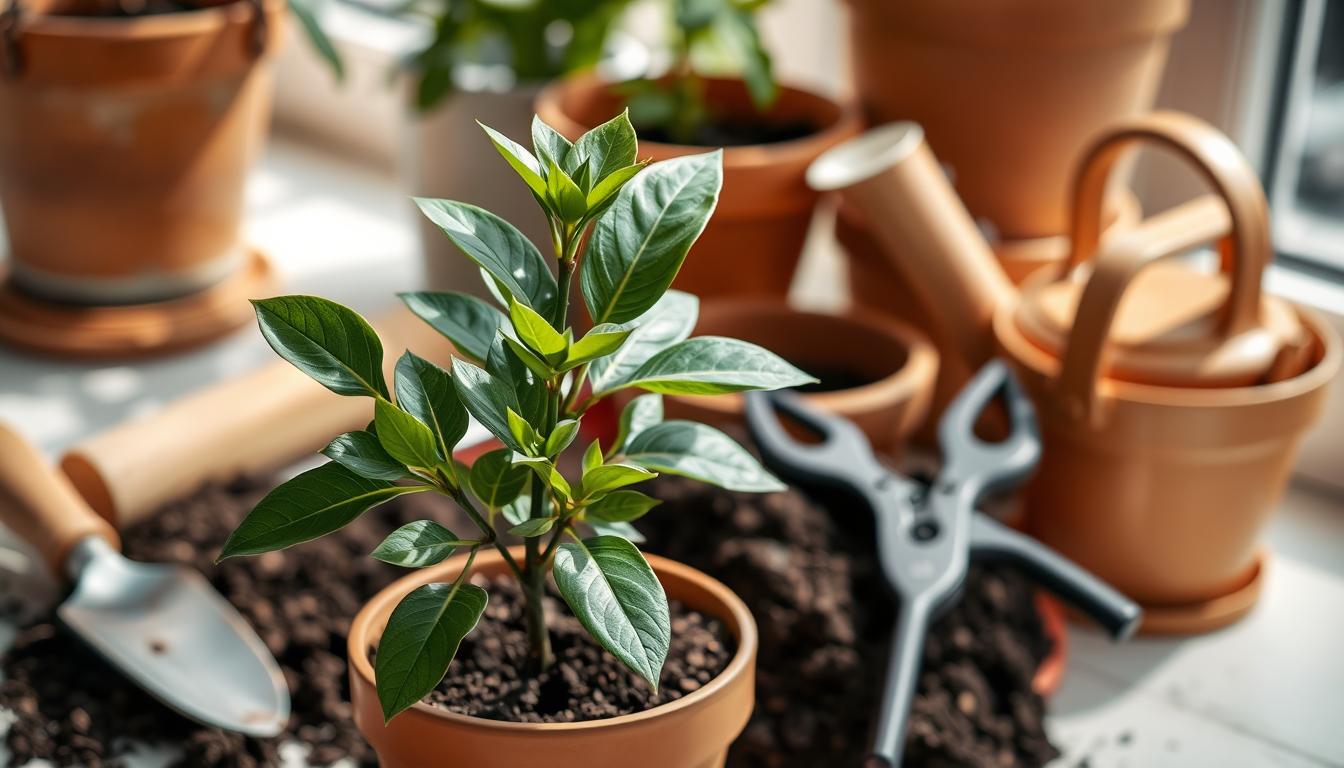
Tools and Accessories You’ll Need
- Sharp pruning shears for shaping and trimming
- Narrow-spout watering can for precise watering
- Plant saucers to collect drips
- Stakes or cages for support
- Organic fertilizers like Neptune’s Harvest Fish & Seaweed Fertilizer or slow-release nitrogen pellets
- Mulch options: pebbles (to deter squirrels) or compost
- Wheeled carts for moving large pots
Before planting, clean containers with a 1:10 bleach solution. Repot every 2–3 years unless you keep the plant pruned compact. These bay laurel potting tips ensure long-term health and growth.
How to Grow and Care for Bay Laurel in Pots: Step-by-Step Guide
Learning How to Grow and Care for Bay Laurel in Pots is easy. Just follow these simple steps to make sure your bay laurel does well in its pot.
Planting Your Bay Laurel
First, pick the right pot size. Use 4-6 inches for seedlings and 12-16 inches for grown plants. Add a 2-inch layer of pebbles or broken pottery at the bottom for better drainage.
Fill the pot with a mix of potting soil and cactus mix. Make sure there are drainage holes. Place the plant so the roots are 1 inch below the pot rim. Water well and put it in bright, indirect light.
Initial Care After Planting
- Water weekly, keeping the soil moist but not too wet.
- Keep it out of direct sun for the first two weeks.
- Watch for wilting or yellow leaves every day.
- Trim long stems by 1/4 after four weeks to help it branch out.
Establishing a Care Routine
Having a regular care routine is key for your plant’s health. Here’s a seasonal guide for potted bay laurel plant care:
| Season | Key Tasks |
|---|---|
| Spring | Apply diluted liquid fertilizer monthly. Light prune to shape. |
| Summer | Water deeply once weekly. Watch for heat stress. |
| Autumn | Slow down watering. Start getting ready to move it indoors by November. |
| Winter | Water every 2-3 weeks. Keep it in a cool, bright place. |
I’ve had my bay laurel for years in a 15-inch clay pot with a 50/50 soil mix. Adjusting water and light with the seasons keeps it healthy. Follow this routine, and your plant will give you fragrant leaves and strong growth.
Watering Requirements for Container-Grown Bay Laurel

Proper watering is key for bay laurel care. Potted bay laurel needs the right balance of moisture and dryness. These Mediterranean plants like soil that dries a bit between waterings.
I check the soil by inserting my finger an inch deep. Water only when it feels dry. This helps keep the plant healthy.
For a 5″ pot in low light, I water it with 0.5 cups every 9 days. In summer, I water more often but avoid soggy roots. Overwatering can cause root rot, so I always drain excess water.
Terracotta pots dry faster than plastic ones. So, adjust your watering schedule based on the pot type.
My routine includes watering until water flows from the drainage holes. Indoor plants also benefit from monthly misting to increase humidity. In winter, I water every 2-3 weeks, reducing frequency when growth slows.
Watch for yellow leaves, which indicate overwatering. Crispy edges mean the plant is underwatered.
Here’s how to water your bay laurel: 1) Test soil moisture with your finger 2) Water slowly until water drains 3) Let the soil dry a bit before watering again. Adjust for the size of your container and how much sunlight it gets. This approach keeps my plants healthy all year without root problems.
Light and Temperature Needs for Healthy Bay Laurel
Knowing what light and temperature your bay laurel needs is essential. These Mediterranean shrubs do best in consistent light and moderate temperatures.
Ideal Sunlight Conditions
Bay laurels love full sun, but container plants can handle partial shade. Here’s how to find the right balance:
- Outdoor: Put them in full sun for 6–8 hours a day. Use light shade when it’s too hot.
- Indoor bay laurel care: South or west-facing windows are best. Rotate them weekly for balanced growth.
Temperature Tolerances and Preferences
Bay laurels grow best between 60–75°F (16–24°C). Here’s how to keep them happy:
| Temperature Range | Impact on Growth |
|---|---|
| Below 50°F | Slows growth; protect from frost |
| 60–75°F | Optimal growth and leaf flavor |
| Above 90°F | Risk of leaf scorch; provide shade |
Seasonal Light Adjustments
In winter, move plants to sunny windowsills indoors. Keep nighttime temperatures above 50°F. In summer, slowly get them used to outdoor light over 1–2 weeks. Adjust their spot monthly to match the sun’s path.
Fertilizing and Feeding Your Potted Bay Laurel Plant
Feeding your bay laurel plant right is essential for its health. Start with a balanced 10-10-10 fertilizer in early spring. Options like fish emulsion or kelp extract are good because they release nutrients slowly and improve soil. Stay away from synthetic fertilizers to avoid salt buildup in pots.
- Feed monthly during spring and summer with diluted liquid fertilizer (follow package rates)
- Use time-release granules in spring for slow nutrient release
- Discontinue feeding by late summer to prepare for dormancy
Every year, top-dress your plants with compost-enriched soil. This adds nutrients without harming the shallow roots. Also, repot the plant every three years to refresh the soil completely.
Check the soil pH every year with a test kit. Keep it between 6.0-7.0 for best nutrient absorption. If leaves turn yellow or growth slows, try compost tea or bone meal. Always water well before feeding to avoid root damage.
Remember, bay laurel needs moderation. Too much food can burn leaves and harm roots. Look out for crispy leaves or white soil to know it’s time to flush and reduce feeding. Adjust your feeding schedule based on your plant’s growth and the light it gets.
Pruning and Shaping Techniques for Bay Laurel in Containers
Pruning is essential for a compact and healthy potted bay laurel. These bay laurel care tips help keep your plant vibrant. They also help shape it to fit your space. Let’s look at how to trim, shape, and harvest without stressing your potted bay laurel plant care routine.
When to Prune Your Bay Laurel
Timing is everything. Prune in late winter, when the plant is dormant but before it starts growing in spring. This helps it grow strong. Use clean, sharp shears for precise cuts. Don’t prune too much in summer when it’s actively growing.
For upkeep, trim dead or crossing branches anytime. But do major shaping during the dormant period.
Shaping Methods for Aesthetic Appeal
Shape your bay laurel into a living sculpture or a simple shrub. Try these techniques:
- Topiary forms: Create geometric shapes like spheres or spirals with gradual snips. Use a guide or freehand cuts for a natural look.
- Layered cuts: Trim outer branches to expose inner growth, promoting even leaf distribution.
- Height control: Trim the top to prevent leggy growth and keep the plant compact.
Always disinfect tools between cuts to avoid disease spread.
Harvesting Leaves Without Harming the Plant
Harvest selectively to sustain growth. Pick 1-2 leaves weekly from mature plants, choosing firm green leaves over older ones. Never take more than 25% of foliage at once. Snip stems at a 45-degree angle just above a leaf node to encourage branching.
Newly planted bay laurels should be lightly harvested until they’re 2-3 years old. Stored leaves stay fresh in a cool, dry place for months.
Troubleshooting Common Problems with Potted Bay Laurel

Even with careful bay laurel care tips, challenges like pests or leaf discoloration may appear. This guide shares solutions tested through years of indoor bay laurel care. It helps you resolve issues before they escalate. Let’s break down fixes for each problem step by step.
Identifying and Treating Pests
Scale, mealybugs, and spider mites often hide on stems or under leaves. Look for sticky residue or cottony fluff. My go-to method combines weekly neem oil sprays and alcohol-dipped cotton swabs to remove pests manually. For severe cases, prune infected branches and rinse the plant thoroughly.
Disease Prevention and Treatment
Fungal issues like powdery mildew show as white coatings on leaves. Improve air circulation by spacing plants 12-18 inches apart. If roots rot, repot the plant in fresh soil mixed with perlite. A 1:9 neem oil-water spray every two weeks prevents new infections. Overwatering? Follow begonia watering strategies outlined here: begonias in pots guide offers insights on avoiding soggy soil.
Fixing Yellowing Leaves and Other Common Issues
Yellow leaves: Overwatering causes yellowing. Let soil dry 2 inches deep before watering again.
Brown leaf tips: Dry air or underwatering. Mist leaves daily or place a tray of pebbles with water nearby.
Wilting: Check soil moisture. If roots are mushy, trim rotted sections and repot in sterile containers.
Leaf drop: Sudden temperature shifts stress plants. Gradually acclimate to new environments.
Aim for consistent care routines, adjusting water and light based on seasonal changes. Regular inspections catch issues early, ensuring your bay laurel stays healthy year-round.
Indoor Bay Laurel Care vs. Outdoor Container Care
Bay laurel does well indoors and outdoors, but each place needs special care. For indoor bay laurel care, mimic outdoor light with grow lights. Outdoors, sunlight and air are key. Here are the main differences:
| Factor | Indoor Care | Outdoor Care |
|---|---|---|
| Light | 6+ hours of bright indirect light or grow lights (500 μmol/m²/s PPFD). | Full sun to partial shade; 6+ hours direct sunlight daily. |
| Humidity | Mist leaves, use pebble trays, or a humidifier to maintain 50-60% humidity. | Natural humidity, but protect from drying winds. |
| Temperature | Keep between 60-75°F, away from heating vents or drafts. | Avoid temperatures below 45°F; protect from frost. |
| Transitions | N/A | Acclimate plants gradually when moving between environments. |
Start moving plants between places in early spring. Move potted bay laurel indoors before the first frost and back outside after the last frost. For growing bay laurel in containers indoors, use ceramic pots with drainage. Outdoor pots need well-draining soil and heat protection.
- Indoor plants may need extra food with a 10-5-5 NPK fertilizer.
- Outdoor plants benefit from repotting every 5 years to prevent root bound.
- Leaf drop indoors? Check humidity and light.
Indoor leaves taste milder than outdoor ones. Prune indoor plants to keep them small, and let outdoor ones grow freely. Both need the same soil pH (6.0–7.0) and pest checks. Keep watering consistent to avoid root rot in both settings.
Conclusion: Enjoying Your Beautiful and Productive Bay Laurel for Years to Come

With the right care, your bay laurel can live for decades. A well-cared-for bay laurel can live over 50 years. It will give you fragrant leaves and a lush, evergreen look every year.
Learning bay laurel care tips is key to keeping it alive. Prune it in late winter to shape it. Take cuttings to make new plants and share or grow your collection. Pair it with rosemary or thyme for a lively herb garden.
Store dried leaves in a jar after hanging them upside down in a cool, dark place. This keeps their strong flavor for soups, stews, or creative dishes like infused oils.
Seasonal changes are important. In winter, water less but don’t let the soil dry out. In spring, use balanced fertilizer to help it grow. Prune thick stems to encourage new leaves. My plant grows 12–24 inches a year, even in small spaces.
Bay laurel grows slowly, but it’s beautiful. It takes years to reach its full size. But its leaves and flowers, which come after three years, attract bees. As it ages, its dense leaves become a highlight, and its scent fills the air. With patience, you’ll enjoy its beauty and flavor for years.
Begin with a small plant, but think big. This Mediterranean herb is tough and rewarding. Whether you use its leaves in cooking or admire its shape, your hard work will be worth it. Every time you touch it, you connect with a long tradition. Now is the best time to start your journey with this timeless plant.


