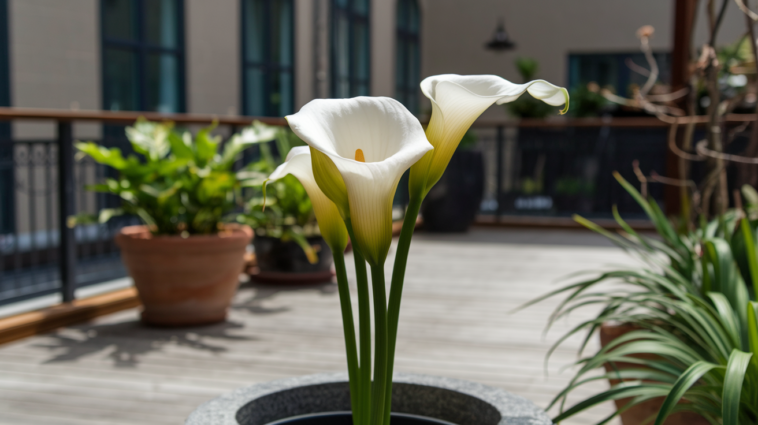
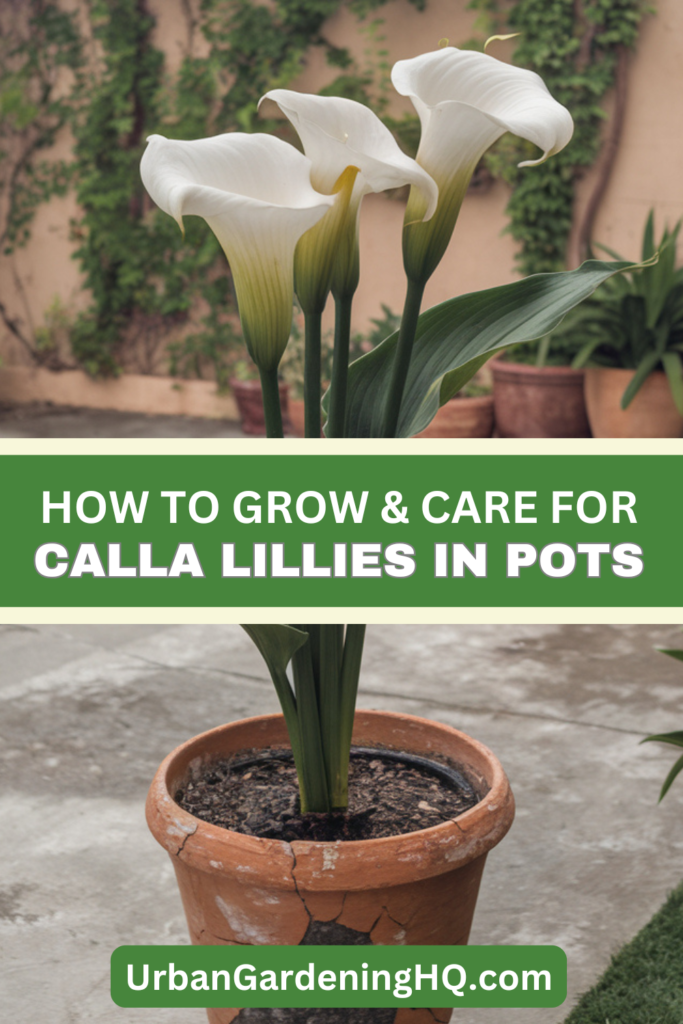
Calla lilies (Zantedeschia) are elegant, trumpet-shaped flowers that make a stunning addition to any home or garden. Known for their striking appearance and long-lasting blooms, they thrive in pots and containers, making them an excellent choice for both indoor and outdoor spaces.
With proper care, these exotic-looking plants can flourish year after year. This guide will help you successfully grow and maintain calla lilies in pots.
Choosing the Right Container
Selecting the right pot is crucial for the health and growth of your calla lilies. The container should be at least 12 inches in diameter and have a depth of 12-16 inches to allow ample space for the roots to expand. It should also have adequate drainage holes to prevent water from accumulating at the bottom, as calla lilies do not tolerate soggy soil.
Terracotta or ceramic pots are ideal because they allow for better air circulation and help wick away excess moisture. If using plastic pots, ensure they have plenty of drainage holes and consider placing a layer of gravel or broken pottery at the bottom to improve drainage.
Selecting the Right Soil
Calla lilies prefer a well-draining, nutrient-rich potting mix. A blend of high-quality potting soil with added organic matter such as compost or peat moss works best. Organic amendments help retain moisture while allowing proper aeration, preventing compacted soil that can suffocate the roots.
Avoid using heavy garden soil, which may retain too much moisture and lead to root rot. Adding perlite or sand to the soil mix can further enhance drainage. A slightly acidic to neutral soil pH (6.0-7.0) is ideal for optimal growth.
Planting Calla Lily Bulbs
Calla lilies grow from rhizomes, which should be planted in spring once the danger of frost has passed. To plant them, fill your container with potting mix, leaving about 2-3 inches of space from the top.
Place the rhizomes 2-4 inches deep with the eyes (buds) facing upward and space them at least 4-6 inches apart if planting multiple bulbs in the same container. Cover with soil and water thoroughly, ensuring the soil settles around the rhizomes without being compacted. New shoots should emerge within a few weeks under proper growing conditions.
Light Requirements
Calla lilies thrive in bright, indirect light. If grown indoors, place them near a sunny window where they can receive at least 6 hours of light daily. South- or west-facing windows are ideal, but if natural light is insufficient, supplement with a grow light to maintain healthy growth.
Outdoors, they prefer partial sun to full sun, depending on the climate. In hotter regions, providing some afternoon shade will help prevent the leaves from scorching. If the leaves start to look scorched or yellow, move the pot to a slightly shadier location.
Watering and Humidity
Consistent moisture is key for calla lilies, but they should never be overwatered. Water the plants when the top inch of soil feels dry, ensuring that excess water drains out of the pot. Using a saucer under the pot can help catch excess water, but be sure to empty it to prevent root rot.
During the active growing season, maintain evenly moist soil, but reduce watering once the flowers fade and the plant enters dormancy. If the plant becomes too dry, the leaves may droop, but they will recover once watered properly.
If grown indoors, calla lilies appreciate moderate humidity. If the air is too dry, occasional misting or placing a humidity tray nearby can help keep the plant healthy. Avoid misting directly on the flowers, as excessive moisture on blooms can lead to fungal issues.
Fertilizing Calla Lilies
Calla lilies benefit from regular feeding to encourage lush foliage and vibrant blooms. Use a balanced, water-soluble fertilizer every 2-4 weeks during the growing season. A fertilizer with a ratio of 10-10-10 or 20-20-20 works well.
Organic fertilizers, such as fish emulsion or compost tea, are also great options for providing slow-release nutrients. Avoid over-fertilizing, as excessive nutrients may lead to more leaves and fewer flowers. If the foliage appears overly green with few blooms, reduce nitrogen levels in the fertilizer.
Pruning and Deadheading
To keep your calla lilies looking their best, remove spent blooms by cutting the flower stalks at the base. This process, known as deadheading, encourages new blooms and prevents the plant from wasting energy on seed production.
Trim yellow or damaged leaves to maintain a tidy appearance and promote healthy growth. Use sharp, sterilized pruning shears to prevent disease transmission. Regularly cleaning the foliage with a damp cloth can help remove dust and improve the plant’s ability to photosynthesize efficiently.
Overwintering Calla Lilies
Calla lilies can be overwintered indoors if grown in colder climates. If you live in USDA zones 8-10, you can leave them outside year-round. In colder regions, once the foliage dies back in fall, stop watering and allow the rhizomes to dry out.
Carefully dig them up, remove excess soil, and store them in a cool, dry place (around 50°F) until spring. Wrapping the rhizomes in newspaper or placing them in a breathable container with dry peat moss can help prevent mold and rot. If grown indoors, reduce watering and keep them in a slightly cooler area during dormancy to mimic their natural rest period.
Managing Pests and Diseases
Calla lilies are relatively pest-resistant, but they can occasionally suffer from aphids, spider mites, or fungal diseases. To control aphids and mites, rinse the leaves with water or use insecticidal soap.
Prevent fungal issues like root rot by ensuring proper drainage and avoiding overwatering. If necessary, use a fungicide to treat infected plants. Keep an eye out for signs of bacterial soft rot, which can cause the rhizomes to become mushy—discard affected plants promptly to prevent spreading.
Repotting Calla Lilies
Calla lilies should be repotted every couple of years to refresh the soil and prevent overcrowding. The best time to repot is in early spring before new growth appears.
When repotting, gently separate and replant any offsets (small rhizomes) to propagate new plants. Ensure that the new container has fresh soil to provide adequate nutrients for new growth. Repotting also allows you to inspect the rhizomes for any signs of disease or rot and remove any unhealthy portions.
Conclusion
Growing calla lilies in pots is a rewarding experience that allows you to enjoy their elegant blooms in various settings. By selecting the right container, soil, and growing conditions, you can cultivate healthy and vibrant plants.
With proper care, these beautiful flowers will return year after year, adding charm and sophistication to your home or garden. Whether placed indoors for a touch of elegance or outdoors as a stunning focal point, calla lilies are sure to brighten up any space with their timeless beauty.

