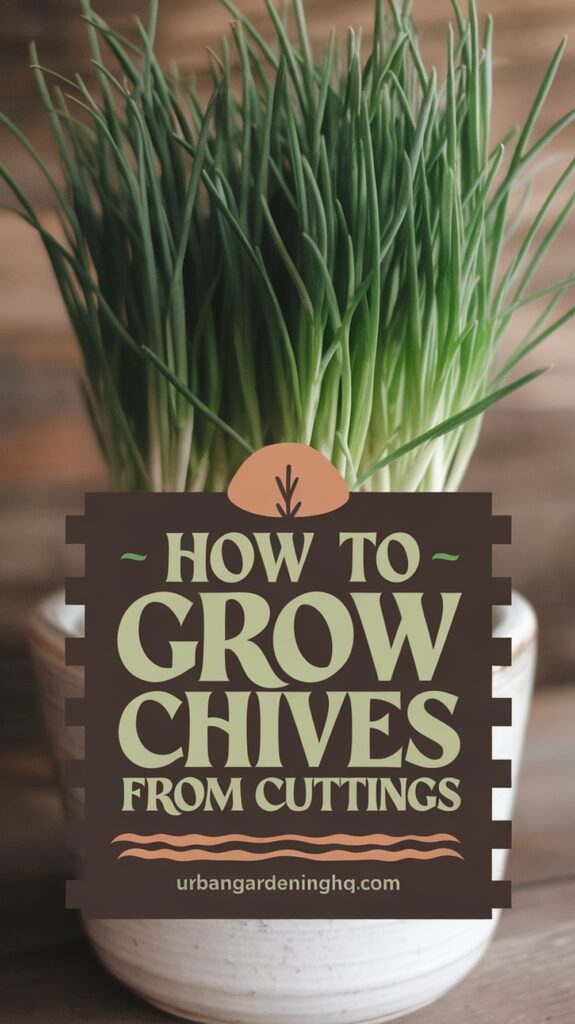
I’ll never forget the first time I tried growing chives from cuttings. It was a cloudy spring morning, and I was sipping coffee by the kitchen window, staring at a sad little bunch of leftover chives in a glass of water. Rather than toss them in the compost, I decided to give them a second chance. That little experiment turned into a lush, fragrant clump of chives that has been going strong ever since. And honestly? It’s one of the easiest, most satisfying things I’ve ever grown.
If you’ve got a few fresh chives on hand—whether from the grocery store, a neighbor’s garden, or your own herb pot—you’re halfway there. Let me walk you through the process of growing chives from cuttings, with a few tips and personal touches along the way.
Why Grow Chives?
Before we get into the how, let me tell you why I absolutely love growing chives.
For one, they’re tough little plants. They can handle a bit of neglect, bounce back after trimming, and keep producing fresh greens all season long. Plus, they taste fantastic. I sprinkle them on everything—scrambled eggs, baked potatoes, soups, salads, and even into homemade herb butter.
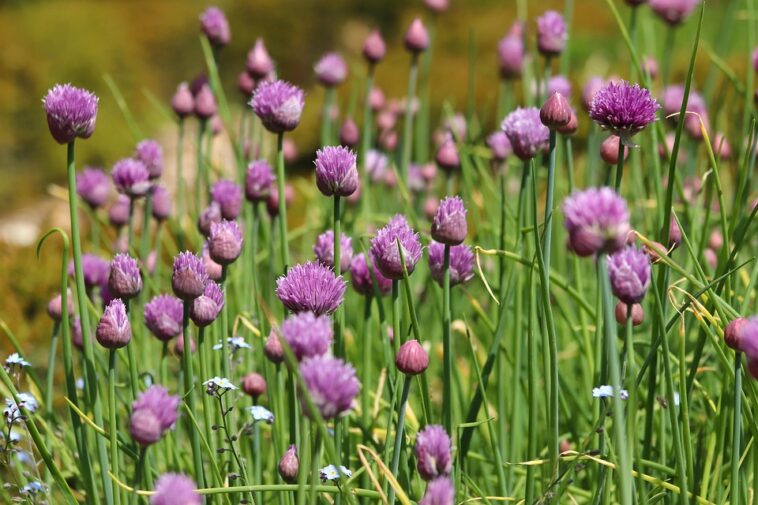
They’re also beautiful. Those tall, hollow green stems and delicate purple flowers add charm to any container or garden bed. And bonus: they attract pollinators and deter pests. What more could you ask for?
Step 1: Choosing the Right Cuttings
To start growing chives from cuttings, you’ll need some fresh chive stems. Not dried. Not wilted. Fresh. Grocery store chives will work, but if you can get your hands on a bunch that still has some white roots attached at the base, even better.
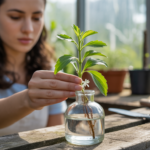
When I first did this, I used leftover kitchen chives with about two inches of the base still intact. I gave them a fresh trim just above the white part and placed them in a glass of clean water. Within a week, tiny white roots started to emerge, like magic. That’s when I knew I was onto something.
Pro tip: The fresher the chive, the better the chance it’ll root. If it’s floppy or yellowed, it’s probably past its prime.
Step 2: Rooting in Water
I usually start my cuttings in water for one simple reason: it’s fun to watch the roots grow. Just place your chive cuttings upright in a glass or jar with about an inch of water. Make sure the white base is submerged but not the entire stem.
Set the glass in a bright windowsill, but not in direct, harsh sunlight. Indirect light works best while the roots are forming. Change the water every couple of days to keep things fresh and avoid any slimy buildup.
After a week or so, you’ll start to see little white roots forming at the base. Sometimes it takes a bit longer, depending on the temperature and freshness of the chives, so be patient.
Step 3: Transplanting to Soil
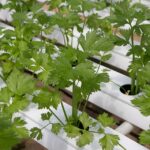
Once the roots are about 1 to 2 inches long, it’s time to transplant them into soil. I get so excited at this stage—it’s like planting hope. I usually use a 6- to 8-inch pot with good drainage, filled with a light, well-draining potting mix. You can also plant them directly into your garden or raised bed if the weather’s warm enough.
Make a small hole in the soil with your finger or a stick, gently place the rooted chive in, and firm the soil around it. Give it a good drink of water right after planting.
Keep the soil moist but not soggy for the first couple of weeks while the plant adjusts. After that, chives are pretty low maintenance.
Step 4: Caring for Your Chives
Chives love the sun, so pick a sunny spot—at least six hours of direct sunlight a day. In partial shade, they’ll still grow, but they’ll be thinner and less robust.
Water when the top inch of soil feels dry. They’re fairly drought-tolerant once established, but regular watering keeps them growing strong. I fertilize mine about once a month during the growing season with a balanced organic fertilizer, just a light touch.
Don’t forget to harvest often! Frequent trimming actually encourages the plant to grow bushier. I snip mine with scissors about an inch from the soil level. Just don’t cut more than a third of the plant at once, especially in the early days.
By mid-summer, your chives might send up lovely purple pom-pom flowers. These are edible, too—peppery and oniony—and they look beautiful in salads.
Troubleshooting and Tips
- Leggy or floppy chives? They might not be getting enough light. Move them to a sunnier spot.
- Yellowing leaves? That can be a sign of overwatering or poor drainage. Make sure your pot has holes and your soil isn’t staying soggy.
- No new growth after planting? Sometimes the roots need a little longer to settle. As long as the stems are still green and not mushy, give them more time.
And here’s a little trick I’ve learned: if your chive plant starts to get woody or sparse in the center after a season or two, dig it up in early spring and divide it. Just pull or cut the clump into smaller chunks and replant them. You’ll get fresh, vigorous growth in no time.
Final Thoughts
Growing chives from cuttings isn’t just a fun project—it’s incredibly rewarding. There’s something special about rescuing what might have ended up in the trash and turning it into a thriving, productive plant. Every time I walk past my little herb corner and run my fingers through the chive leaves, I smile.
Whether you’re a seasoned gardener or just starting out with a sunny windowsill and a dream, chives are a great place to begin. Give it a try. Take those kitchen scraps and turn them into something beautiful. You might be surprised at just how easy—and satisfying—it can be.