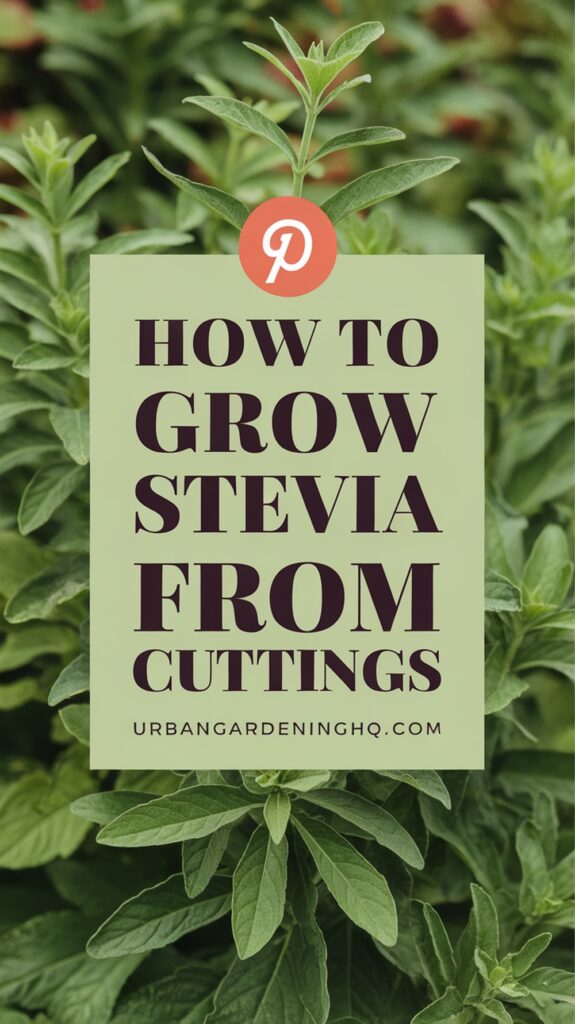
Stevia might just be one of the most rewarding herbs I’ve ever grown. Known for its natural sweetness, stevia (Stevia rebaudiana) is a fantastic sugar substitute, and it’s surprisingly easy to grow at home—especially from cuttings. When I started growing stevia, I was curious if the leaves would really taste sweet straight off the plant. Spoiler: they do. One nibble, and I was hooked.
Instead of waiting for seeds to germinate, I learned how to grow stevia from cuttings. It’s faster, more reliable, and incredibly satisfying to watch a single stem turn into a lush, leafy plant. If you’ve been wanting to grow your own natural sweetener, let me walk you through exactly how I do it.
Choosing the Right Container for Stevia
Stevia thrives in containers, especially if you want to grow it on a balcony, patio, or windowsill. The plant doesn’t have deep roots, but it does appreciate room to spread out. I like to use a pot that’s at least 10 to 12 inches wide and just as deep. That gives the roots enough space to establish and allows for healthy top growth.
Stevia hates soggy soil, so drainage is non-negotiable. I always make sure the pot has multiple drainage holes, and I add a layer of small pebbles or broken terracotta at the bottom. Terracotta pots are a favorite of mine for stevia—they allow for good airflow and prevent overwatering.
Selecting and Preparing Stevia Cuttings
Unlike seeds, which can be slow and unpredictable, cuttings give you a true-to-type plant and a quicker start. I take my cuttings from a healthy, mature stevia plant in late spring or early summer, when growth is active and soft.
Here’s how I prepare them:
- I snip 4- to 6-inch softwood cuttings from non-flowering stems.
- Each cutting is taken just below a leaf node, where rooting hormones are naturally concentrated.
- I remove the bottom leaves, leaving only the top two sets.
If the leaves are large, I trim them in half to reduce water loss. Then, I let the cuttings sit for about 15 minutes before moving on to the rooting step.
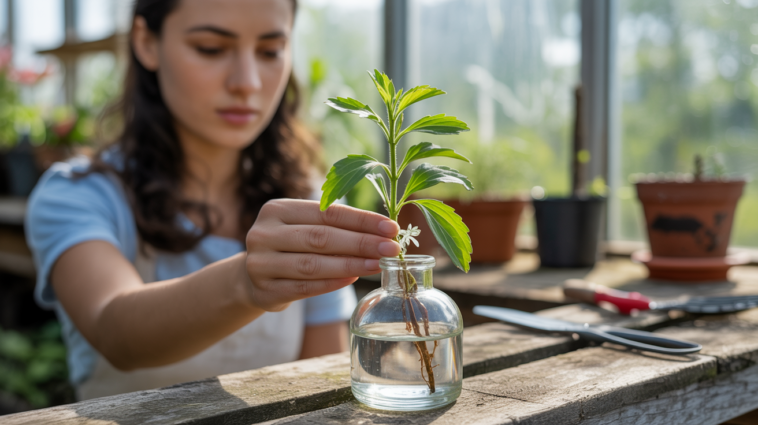
Rooting Stevia Cuttings in Water
You can root stevia in either water or soil, but I personally love the water method. It’s so easy, and I get to see the roots develop day by day.
I place the cuttings in a clear jar filled with fresh, room-temperature water, making sure the leafless part of the stem is submerged. I keep the jar on a bright windowsill with indirect sunlight and change the water every couple of days to prevent bacterial growth.
Stevia takes a bit longer than some herbs to root—usually 10 to 20 days—but don’t be discouraged. As long as the leaves look perky and the stem stays firm, you’re on the right track.
Transplanting Rooted Stevia Cuttings
Once the roots are about 1 to 2 inches long, it’s time to move the cuttings to soil. I prepare a light, well-draining potting mix—usually a blend of potting soil, perlite, and a touch of compost. Stevia prefers slightly acidic to neutral soil (around pH 6.5–7), so I avoid mixes that are too rich or heavy.
I transplant the cuttings into moist soil and gently firm it around the base. After planting, I keep the pot in a shaded area for a few days to let the roots adjust, and then I move it into full sun.
Caring for Stevia in Containers
Stevia is a warm-weather herb, and it really flourishes when given the right care. Once established, it’s not fussy, but a little attention goes a long way.
Watering
I water when the top inch of soil feels dry. Stevia likes consistent moisture, but not wet feet. During hot weather, I check it daily, especially if it’s in a smaller pot that dries quickly.
Sunlight
Stevia loves the sun. I give it at least 6 to 8 hours of full sun each day. If you’re growing indoors, a south-facing window or a grow light will work just fine.
Feeding
I feed my stevia plants once a month with a diluted liquid organic fertilizer. Too much fertilizer can reduce the sweetness of the leaves, so I go easy and let the plant do its thing.
Pruning and Harvesting
I start snipping tips when the plant is about 8 to 10 inches tall. Pruning encourages bushier growth and more leaf production. If it starts to flower (usually late in the season), I pinch off the buds to keep the leaves sweet and flavorful.
You can dry the leaves for later use or enjoy them fresh in teas, syrups, or smoothies.
Pests and Problems
Stevia is relatively pest-resistant, but I keep an eye out for aphids or spider mites. A gentle spray of neem oil or insecticidal soap clears them up quickly. Also, make sure there’s good air circulation around the plant to avoid fungal issues.
Final Thoughts: A Sweet Reward from a Simple Start
Growing stevia from cuttings has become one of my favorite propagation projects. It’s easy, rewarding, and gives me a steady supply of naturally sweet leaves for tea and treats. There’s nothing quite like plucking a fresh stevia leaf and tasting that burst of sweetness—it’s like nature’s candy.
If you’re looking for a fun, low-maintenance herb that offers both flavor and charm, give stevia a try. Whether you’re a beginner gardener or a seasoned herbalist, this is one plant that truly gives back.