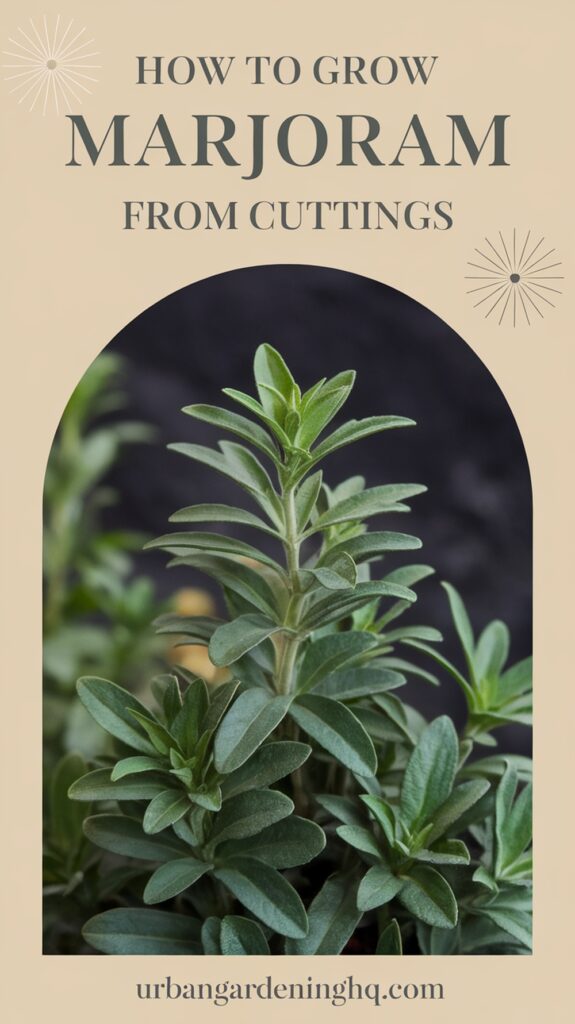
If you’ve never grown marjoram before, you’re in for a treat. This soft, sweet herb is one of my favorite additions to the garden—and the kitchen. With its delicate flavor somewhere between oregano and thyme, marjoram adds a subtle, floral earthiness to soups, stews, and roasted vegetables. And like many Mediterranean herbs, marjoram is wonderfully easy to propagate from cuttings.
I first discovered the joy of growing marjoram when a neighbor gave me a cutting from her thriving plant. I had no idea how simple it would be to root and grow, and now I keep a few pots going year-round. If you’re looking for a gentle, aromatic herb to grow without fuss, I highly recommend marjoram. Let me walk you through how I grow mine—from a single cutting to a flourishing plant.
Choosing the Right Container for Marjoram
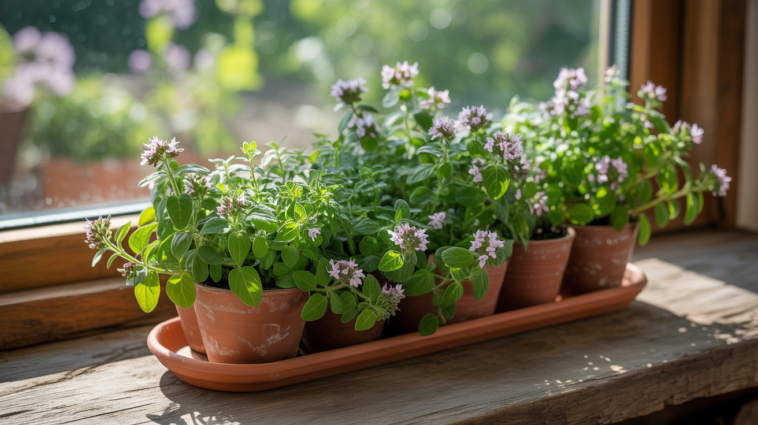
Marjoram grows beautifully in containers, which makes it perfect for patios, windowsills, and balconies. In fact, I prefer growing it in pots because it gives me more control over soil drainage, sunlight, and portability.
I usually use an 8- to 10-inch wide container for each marjoram cutting. The plant doesn’t need a lot of space initially, but it can spread out as it matures. It’s important that the container has good drainage holes at the bottom. Marjoram hates sitting in soggy soil, and proper drainage prevents root rot and fungal issues.
I use either terracotta pots or thick plastic ones with a layer of small stones or broken pottery at the base to enhance drainage. Avoid shallow trays or pots without holes—they’ll only create problems down the line.
Selecting and Preparing Marjoram Cuttings
Marjoram is a tender perennial in warmer climates but often grown as an annual in cooler zones. Propagating it from cuttings is one of the easiest ways to multiply your supply—and it’s especially helpful if you want to overwinter plants indoors.
When taking cuttings, I look for soft, green, non-flowering stems about 4 to 6 inches long. Here’s how I prepare them:
- Snip the cutting just below a leaf node (where the leaves join the stem).
- Remove the lower leaves, leaving the top two sets intact.
- Avoid stems that are woody or flowering—those don’t root as well.
Sometimes, I take 2 or 3 cuttings at once so I can root them together and later plant the strongest ones.
Rooting the Cuttings in Water
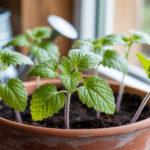
Just like with mint and lemon balm, I root my marjoram cuttings in water—it’s quick, visible, and satisfying. I use a clean glass jar or small vase filled with room-temperature water and place the cuttings inside so that the leafless portion is submerged while the top leaves stay above the waterline.
I keep the jar on a bright windowsill with indirect light and change the water every 2–3 days. In about 7 to 10 days, tiny roots start to emerge. Once they’re about 1–2 inches long, the cuttings are ready to be potted up.
I’ve noticed that marjoram sometimes takes a little longer to root than mint, so don’t worry if you don’t see roots immediately. Just keep the water fresh and be patient.
Transplanting Rooted Marjoram Cuttings
Once roots are established, I transplant the cuttings into pots filled with a light, well-draining potting mix. I often blend my own using standard potting soil mixed with a bit of perlite, coarse sand, and compost. Marjoram prefers slightly sandy, lean soil—it doesn’t need rich, loamy mixes.
I plant each cutting about 1 inch deep and gently firm the soil around it. After transplanting, I water the pot thoroughly and keep it in a warm, partially shaded area for the first few days. Once the plant shows signs of new growth, I gradually move it to a sunnier spot.
Caring for Marjoram in Containers
Marjoram is relatively low-maintenance once it’s established, making it a great herb for beginners or busy gardeners. Here’s how I keep mine thriving:
Watering
Marjoram likes the soil to dry slightly between waterings. I usually water when the top inch of soil feels dry. It’s better to under-water slightly than to overdo it—too much moisture is this herb’s enemy.
Sunlight
This sun-loving plant needs about 6 hours of direct sunlight a day. I keep my pots in a bright spot on the patio, but if you’re growing it indoors, a south-facing window works well.
Pruning and Harvesting
Frequent pruning encourages bushier growth. I start pinching back the tips once the plant is about 6 inches tall. When harvesting, I snip stems just above a pair of leaves. Regular harvesting not only gives me fresh herbs for the kitchen but also keeps the plant full and compact.
If marjoram begins to flower, I trim the flower buds to maintain flavor and extend the plant’s productivity.
Feeding
I give marjoram a diluted dose of all-purpose liquid fertilizer once a month during the growing season. It doesn’t need much—too much nitrogen can reduce the concentration of essential oils, which means less aroma and flavor.
Pests and Diseases
Marjoram isn’t particularly prone to pests, but I keep an eye out for aphids or whiteflies. If I notice any, a quick spritz with soapy water clears them up. Good air circulation around the plant also helps prevent fungal issues, especially in humid climates.
Final Thoughts: Marjoram Is Underrated and Undeniably Lovely
There’s something incredibly satisfying about growing your own herbs from cuttings, and marjoram is one of the most rewarding herbs I’ve propagated. Its soft, fuzzy leaves and delicate scent make it a pleasure to grow, and the process is so easy, it feels like cheating.
Whether you’re expanding your herb garden, gifting plants to friends, or simply want to enjoy a little more greenery around your home, growing marjoram from cuttings is a rewarding project. Give it a try—you might find yourself falling for this gentle, fragrant herb just like I did.