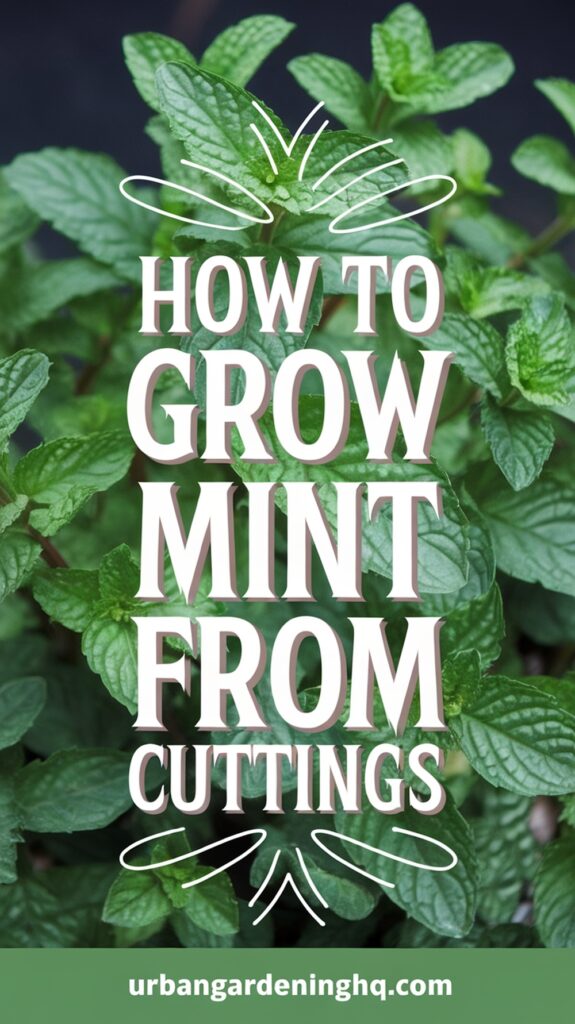
Mint is one of the first herbs I ever tried propagating from cuttings—and to this day, it’s still one of the easiest and most rewarding gardening experiences I’ve had. I remember snipping a few stems from a friend’s lush patch of spearmint and hoping I wouldn’t kill them. To my surprise, those simple cuttings not only survived but thrived, becoming a vigorous and fragrant addition to my patio garden. Now I always keep a pot or two of mint handy for tea, garnishes, and a quick pinch of greenery to brighten up dishes.
If you’re new to gardening or just want a fuss-free plant to expand your herb collection, growing mint from cuttings is the perfect project. It’s budget-friendly, requires minimal equipment, and within a few weeks, you’ll have fresh mint growing right on your windowsill, balcony, or backyard. Here’s exactly how I do it.
Choosing the Right Container for Mint
Although mint can grow in the ground, I always recommend growing it in containers—especially when starting from cuttings. Mint is a notoriously aggressive spreader. Its underground runners can quickly take over a garden bed if left unchecked. By planting mint in a pot, you not only keep its growth in check but also have the flexibility to move it around for sunlight or convenience.
I prefer using medium-sized plastic or ceramic pots with good drainage holes at the bottom. Mint doesn’t like waterlogged soil, so a container that allows excess water to escape is essential. For a single cutting, a 6- to 8-inch pot is more than enough. If I’m growing several cuttings together, I opt for a 10- to 12-inch container. Avoid metal containers, especially in hot climates—they can heat up quickly and damage the roots.
Selecting and Preparing Mint Cuttings
The beauty of propagating mint is that you don’t need seeds or a fancy starter kit. All you need is a healthy stem—either from a plant you already own, one from a neighbor or friend, or even a bunch you bought from the grocery store.
Here’s what I look for when selecting mint cuttings:
- Choose green, firm stems that are 4 to 6 inches long.
- Make sure each cutting has at least 2 to 3 sets of healthy leaves.
- Avoid woody, old stems or ones with flowers—they root poorly.
Once I’ve selected the cuttings, I snip just below a leaf node (the point where a pair of leaves meets the stem). I then strip off the bottom leaves from the lower half of the cutting. This exposed section is where roots will develop, so I want it bare and ready.
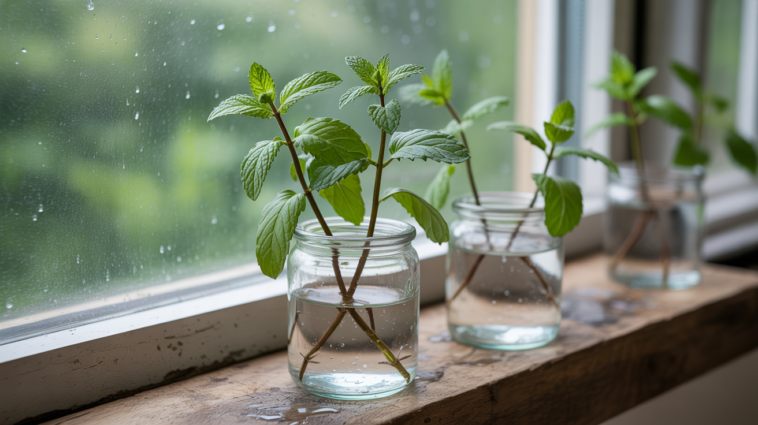
Rooting the Cuttings in Water
While you can plant mint cuttings directly into soil, I prefer starting them in water—it’s fast, fun to watch, and nearly foolproof. I grab a small glass jar or a recycled bottle, fill it with room-temperature water, and place the cuttings inside so that the bare nodes are submerged while the leaves remain above water.
Then I set the jar on a bright windowsill out of direct sunlight. I change the water every couple of days to keep it fresh and prevent bacteria buildup. Within 4 to 7 days, I usually start seeing little white roots emerging from the nodes. By the end of the second week, those roots often stretch over an inch long, which is the perfect time to transplant them into soil.
Planting the Rooted Mint Cuttings
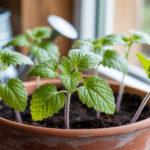
Once my mint cuttings have developed a healthy root system, I prepare their container for transplanting. I fill the pot with a well-draining, nutrient-rich potting mix. Mint isn’t too fussy about soil, but I like mixing in a bit of compost or aged manure to give it a gentle boost. If the mix feels too dense, I’ll add a handful of perlite or coarse sand to improve drainage.
I make a small hole in the soil with my finger, carefully place the rooted cutting inside, and gently firm the soil around it. After planting, I water thoroughly to help the roots settle in. For the first few days, I keep the pot in partial shade while the plant adjusts to its new home. Once it perks up and shows new growth, I move it to a sunnier spot.
Caring for Mint in Containers
Caring for mint is easy once it’s established. Here’s how I keep my mint plants happy and productive:
Watering
Mint enjoys consistently moist soil, especially during hot weather. I check the soil every couple of days—if the top inch feels dry, I water. But I’m careful not to overdo it. Soggy soil can lead to root rot, which is the fastest way to lose your mint.
Sunlight
Mint thrives in full sun to partial shade. I’ve had the best results giving it about 4 to 6 hours of sunlight a day. In the peak of summer, I sometimes move my potted mint to a slightly shadier spot to prevent wilting.
Pruning and Harvesting
Regular harvesting is actually beneficial for mint. The more I snip, the bushier and more vigorous it becomes. I make a habit of pinching off the tips every week or so, especially before the plant starts flowering. Once mint blooms, the leaves can become bitter, so I cut off any flower buds as soon as I spot them.
Feeding
Mint doesn’t require much feeding, but I give it a light dose of liquid fertilizer once a month during the growing season. I’ve also tried compost tea and even diluted fish emulsion with great results.
Pests and Diseases
Mint is relatively pest-resistant, but I occasionally see aphids or spider mites. I deal with them by spraying the leaves with a mild soapy water solution. Mint is also prone to fungal issues if the leaves stay wet for too long, so I try to water at the base and ensure good airflow around the plant.
Final Thoughts: Why Mint from Cuttings is Worth It
Growing mint from cuttings has become a ritual for me every spring. It’s not just a practical way to multiply one of my favorite herbs—it’s also a satisfying reminder of how easily new life can begin. Whether you’re planting in a balcony pot, kitchen windowsill, or backyard corner, mint offers an unbeatable combination of ease, speed, and usefulness.
If you’ve never tried propagating herbs before, start with mint. I promise, once you see those tiny roots form in a glass of water and then watch the plant explode with fresh green leaves, you’ll be hooked. It’s one of those simple gardening joys that never gets old.
So go ahead—grab a sprig, a glass of water, and get started. In just a few weeks, you’ll be sipping homemade mint tea with pride, knowing you grew it all from a humble cutting.