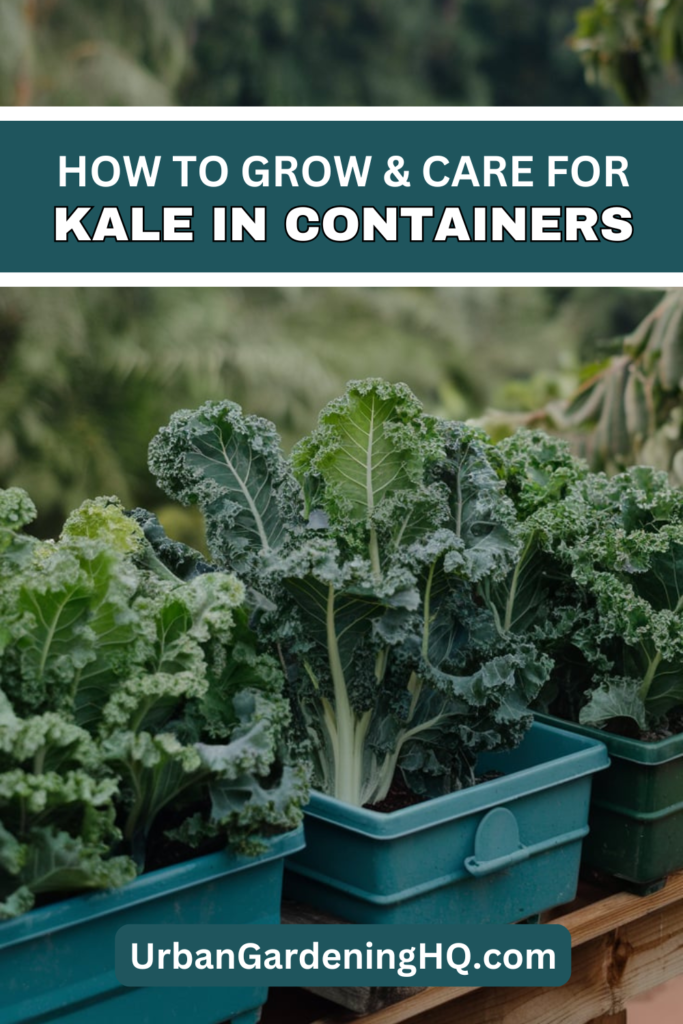
Kale is one of my favorite leafy greens to grow in containers. It’s hardy, packed with nutrients, and produces fresh leaves for months with minimal effort.
Plus, growing kale in pots means I can move my plants around to get the best sunlight and protect them from harsh weather.
Whether you have a small balcony, patio, or just want to keep your greens closer to the kitchen, container gardening is a great way to grow kale. Here’s how I do it!
Choosing the Right Container
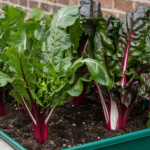
Since kale develops a deep root system, I always choose a container that is at least 12 inches deep and 12–16 inches wide. If I want to grow multiple kale plants, I opt for a larger pot or a rectangular planter. Fabric grow bags are also a great option since they allow for excellent drainage and airflow.
Drainage is essential to prevent root rot, so I make sure my pots have several drainage holes at the bottom. If I’m using a decorative pot without holes, I place a plastic grow pot inside to ensure excess water drains properly.
Selecting the Best Kale Varieties for Containers
Not all kale varieties grow the same way, so I always choose ones that adapt well to containers. Some of my favorites include:
- Lacinato (Dinosaur Kale) – Dark green, bumpy leaves with a slightly sweeter taste and a compact growth habit.
- Red Russian – Tender, frilly leaves with a purple hue and a mild flavor.
- Dwarf Blue Curled – A compact, curly variety perfect for small pots.
- Scarlet Kale – A stunning, deep red variety that adds a pop of color to my garden.
These varieties thrive in pots and don’t take up too much space, making them ideal for small gardens.
Planting Kale in Containers
Preparing the Soil
Kale grows best in rich, well-draining soil. I use a high-quality potting mix combined with compost for added nutrients. To improve drainage and aeration, I mix in perlite or sand. Since kale prefers slightly acidic soil, I check that the pH is around 6.0–7.0 for optimal growth.
Planting from Seeds or Seedlings
I often start my kale from seeds, as they germinate quickly and adapt better to container conditions. However, when I want a faster harvest, I use nursery seedlings.
- Sowing seeds: I plant them ¼ to ½ inch deep, spacing them 4–6 inches apart. Once they sprout, I thin out weaker seedlings, leaving about 8–12 inches between plants for healthy growth.
- Transplanting seedlings: I plant them at the same depth they were growing in their nursery pots and water them immediately to help them settle.
Since kale is a cool-season crop, I plant it in early spring or late summer for a fall harvest. If temperatures get too hot, I move my containers to a shaded spot to prevent bolting.
Caring for Kale in Containers
Watering
Kale likes consistent moisture, but soggy soil can cause root problems. I water deeply whenever the top inch of soil feels dry, usually every 2–3 days. In hot weather, I check my pots daily to prevent them from drying out too quickly.
To help retain moisture and regulate soil temperature, I add a thin layer of mulch, such as straw or shredded leaves, around the base of my plants.
Fertilizing
Since kale is a heavy feeder, I make sure to provide plenty of nutrients.
- At planting, I mix in compost or a slow-release organic fertilizer to boost growth.
- Every 2–3 weeks, I feed my plants with a liquid fertilizer like fish emulsion or compost tea to keep the leaves lush and green.
Too much nitrogen can lead to overly tender leaves that attract pests, so I use a balanced fertilizer to keep my plants strong.
Pest and Disease Management
One of the biggest challenges with kale is keeping pests away. The most common ones I encounter are aphids, cabbage worms, and flea beetles.
- Aphids – I spray them off with a strong blast of water or apply neem oil if they persist.
- Cabbage worms – I check the undersides of leaves and remove caterpillars by hand. Floating row covers also help prevent them from laying eggs.
- Flea beetles – These tiny pests chew small holes in leaves, so I use fine mesh netting and sprinkle diatomaceous earth around my plants to deter them.
Good airflow and spacing help prevent fungal diseases like powdery mildew, which can sometimes appear in humid conditions.
Harvesting Kale
One of the reasons I love growing kale is that it’s a cut-and-come-again crop. Instead of harvesting the whole plant at once, I pick the outer leaves first, allowing the inner leaves to continue growing.
- I harvest leaves when they reach about 6–8 inches long for the best texture and flavor.
- Using sharp scissors, I cut the leaves close to the base, but I always leave at least 5–6 leaves on the plant so it keeps producing.
- If I want baby kale, I harvest the leaves when they’re about 4 inches tall, which makes them perfect for fresh salads.
Since kale is frost-tolerant, I can continue harvesting well into winter. In colder months, I move my pots to a sheltered area or cover them with frost cloth to extend the growing season.
Why I Love Growing Kale in Containers
Growing kale in containers has been a game-changer for me. It allows me to control soil quality, manage pests more easily, and extend my harvest throughout the year. Plus, having fresh kale right outside my door means I can quickly grab a handful of leaves whenever I need them for smoothies, soups, or salads.
If you’re new to growing kale or short on garden space, I highly recommend giving container gardening a try. With the right care, you’ll have a continuous supply of fresh, homegrown greens for months. Let me know if you grow kale in pots—I’d love to hear your experience! Happy gardening!