There’s something special about growing my own herbs, and oregano has become one of my favorites. It’s a hardy, aromatic herb that adds depth to so many dishes, from pasta sauces to roasted vegetables.
The best part? It thrives in pots, making it perfect for small spaces and easy maintenance. Over the years, I’ve learned the best ways to grow and care for oregano in containers, ensuring a steady supply of fresh, flavorful leaves.
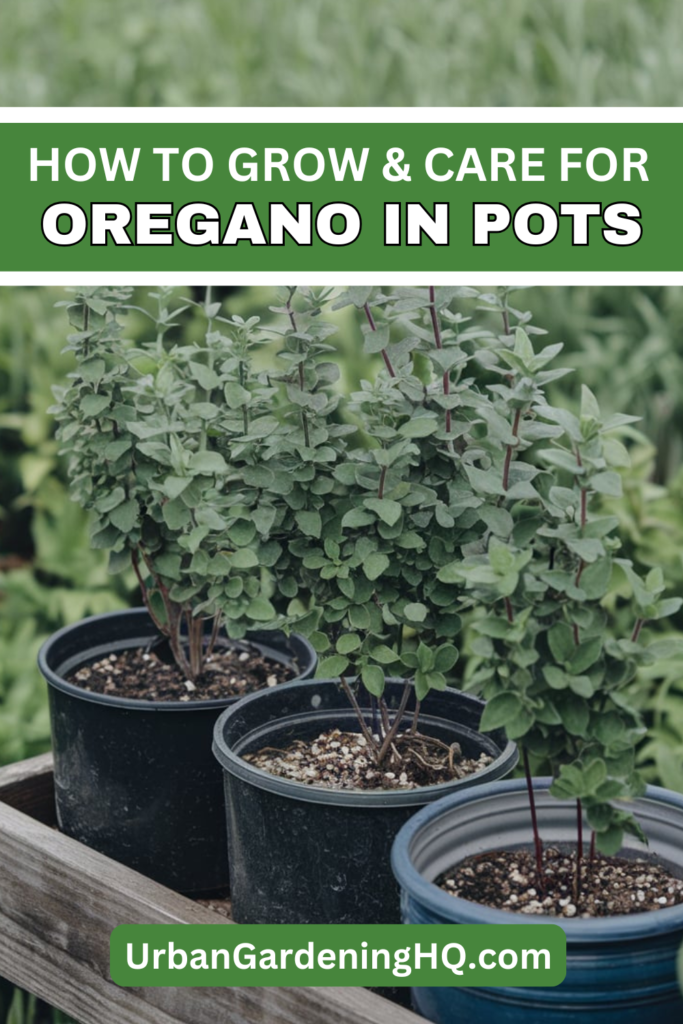
Let me walk you through how I grow and maintain oregano in pots—from selecting the right container to keeping the plant healthy all season long.
Choosing the Right Pot and Soil
The Best Pot for Oregano
Oregano has a relatively shallow root system, but it still needs space to spread. I always use a pot that’s at least 10–12 inches in diameter and 6–8 inches deep. A wide pot encourages good airflow around the plant, reducing the risk of disease.
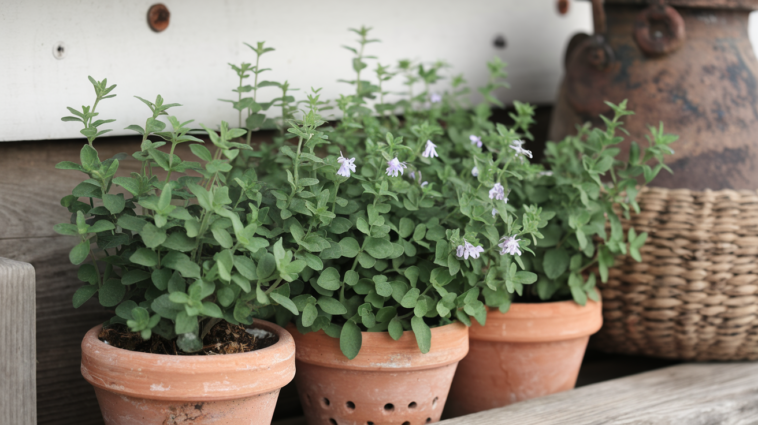
Drainage is crucial, so I make sure my container has several drainage holes. I prefer terracotta pots because they allow excess moisture to evaporate, preventing root rot. However, plastic or ceramic pots work well too, as long as they have proper drainage.
The Best Soil for Oregano
Oregano thrives in light, well-draining soil. Since it’s a Mediterranean herb, it actually prefers soil that’s a little on the drier side. I use a high-quality potting mix and add a bit of sand or perlite for extra drainage.
My go-to soil mix for oregano:
- 2 parts potting soil
- 1 part sand or perlite (for improved drainage)
- 1 part compost (for nutrients)
I avoid heavy garden soil, which can retain too much moisture and cause root rot.
Planting Oregano: Seeds, Cuttings, or Nursery Plants?
Starting from Cuttings (My Preferred Method)
Oregano is super easy to grow from cuttings. Here’s what I do:
- Take a cutting from an established oregano plant (about 4–6 inches long).
- Remove the lower leaves and place the cutting in a glass of water.
- Wait for roots to develop (usually within a week or two).
- Transplant the rooted cutting into my prepared pot with fresh soil.
This method is fast, reliable, and ensures I get an exact replica of the parent plant.
Using Nursery Plants
If I want to start growing oregano immediately, I pick up a small potted plant from a garden center. I gently loosen the roots before planting it in my container to help it adjust to its new home.
Growing from Seeds
Oregano can be grown from seeds, but it requires patience. If I start from seed, I:
- Sprinkle the seeds lightly on the surface of the soil.
- Cover them with a very thin layer of soil.
- Keep the soil consistently moist until germination (which takes 7–14 days).
Seeds take longer to establish, but it’s a great way to grow multiple plants at once.
Sunlight Requirements for Oregano
Oregano thrives in full sun, needing at least 6–8 hours of direct sunlight daily. I always place my pot in a south-facing window if growing indoors or on a sunny patio or balcony if outdoors.
If I notice my oregano growing leggy or stretching toward the light, I move it to a sunnier spot. Indoors, I sometimes supplement with a grow light during the winter months to keep it healthy.
Watering and Feeding Oregano
Watering
Oregano prefers dry to slightly moist soil—it does not like sitting in water. I let the top one to two inches of soil dry out before watering again.
- In hot weather, I check my plant every few days but only water when the soil feels dry.
- In cooler months, I water even less, about once a week or less, depending on humidity levels.
Overwatering is the fastest way to kill oregano, so I always err on the side of too little water rather than too much.
Fertilizing
Oregano doesn’t need heavy feeding. I fertilize lightly every 4–6 weeks with:
- A diluted liquid fertilizer (like fish emulsion or seaweed extract).
- A small amount of compost tea or worm castings added to the soil.
Too much fertilizer can make the leaves lose their intense flavor, so I keep it minimal.
Pruning and Harvesting Oregano
Regular pruning keeps oregano from becoming leggy and helps it produce more leaves.
How I Prune Oregano for a Bushy Growth
- I pinch back the tips every few weeks, which encourages branching.
- I never let my oregano grow taller than 8–12 inches before cutting it back.
- I remove any flower buds as soon as I see them—once oregano flowers, the leaves can become bitter.
Harvesting Tips
- I use sharp scissors or pinch off leaves as needed, taking care not to remove more than one-third of the plant at a time.
- The best time to harvest is in the morning, when the essential oils are most concentrated.
- If I want to harvest a large amount, I cut stems back to about 2–3 inches above the soil—oregano regrows quickly.
Common Pests and Problems
Oregano is naturally pest-resistant, but I occasionally deal with:
- Aphids: I rinse them off with water or use a neem oil spray.
- Spider Mites: I mist the leaves with water to discourage them.
- Root Rot: This happens if the soil is too wet, so I make sure my pot has good drainage and avoid overwatering.
If my oregano starts looking yellow or weak, it’s often a sign of overwatering or lack of sunlight.
Preserving and Storing Oregano
Since oregano grows quickly, I always end up with more than I can use fresh. Here’s how I store it:
- Drying: I hang small bunches upside down in a dry, airy space for two to three weeks, then crumble the leaves into jars.
- Freezing: I chop fresh leaves and freeze them in olive oil or water in ice cube trays.
- Oregano-Infused Oil: I steep fresh oregano leaves in olive oil to create a fragrant herb-infused oil for cooking.
Dried oregano is actually stronger in flavor than fresh, so I use it sparingly in recipes.
Final Thoughts
Growing oregano in pots has been one of the easiest and most rewarding gardening experiences for me. It’s a low-maintenance herb that provides fresh, flavorful leaves for cooking while adding a beautiful, fragrant touch to my garden. By giving it plenty of sunlight, watering it sparingly, and pruning it regularly, I ensure a steady supply of oregano year-round.
If you haven’t tried growing oregano in pots, I highly recommend it. It’s perfect for beginners and seasoned gardeners alike.